 We have added an exciting new feature to our phpList Hosted service: you can now use your own domain.
For example, if your website is www.mywebsite.org, you can set your phpList installation to be at newsletter.mywebsite.org.
This option is available to PLUS accounts.
Why use your own domain?
Using your own domain for your phpList newsletter has many benefits, for example:
- The name of your company or organization is communicated clearly when your subscribers interact with your mails.
- Your click tracking links will contain your domain which is reassuring for your subscribers.
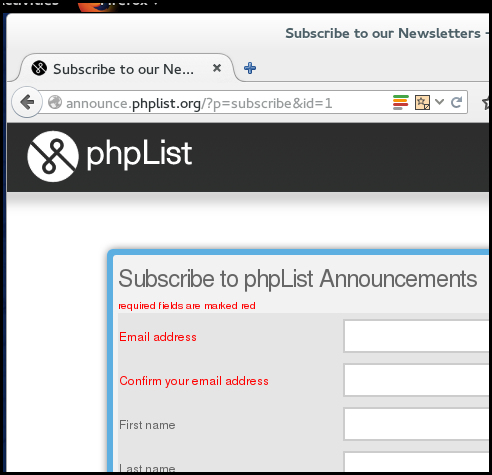
In this example the domain announce.hosted.phplist.com has been changed to announce.phplist.org – the subscribe page appears to be on a phplist.org domain
In order to use this option, you will need to be able to make changes to the DNS entries of your domain. If you do not know how to do this, ask your website developer or hosting provider.
How to set it up and how it works
This option is available if you have a PLUS account. If you would like to try it you need to follow the steps below.
Set your domain under phpList hosted account tools
Login to your phpList hosted installation at https://www.phplist.com/myaccount
Then go to this page: https://www.phplist.com/?lid=353&setmydomain=yes and click on the Tools tab.
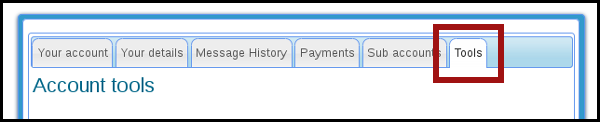
You should see the following:
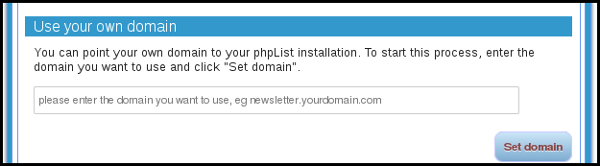
Enter the domain you wish to use in the box. This may be something like;
- newsletter.mydomain.com
- news.mydomain.com
- updates.mydomain.com
- announcements.mydomain.com
- digest.mydomain.com.
In this example, the website address is phpList.org and the domain chosen for phpList is announce.phplist.org
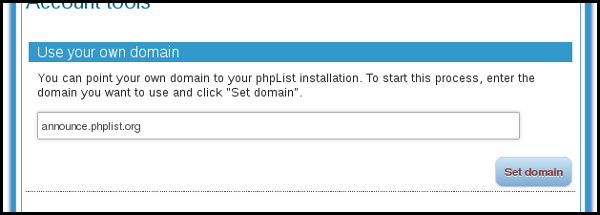
Next click the Set domain button.
Edit your DNS
You will receive an email message explaining that the process of setting your domain has started. You will need to make the DNS changes outlined in the email.
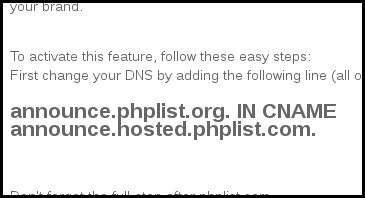
Usually either the person who made your website, your hosting provider or your domain registrar will be able to make this change.
The change may look similar to the screenshot below, however, each hosting provider or domain registrar may use a different processes or tool.
![]()
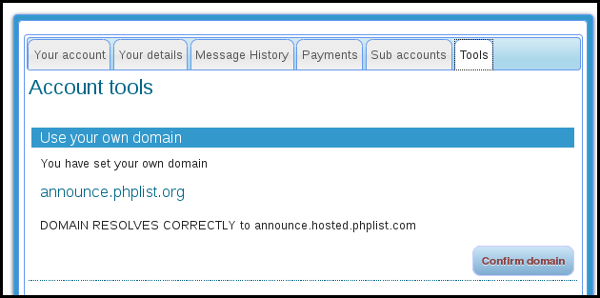
Confirming the domain
Once our systems have detected the DNS change, you will receive another email message informing you what to do next.

You will need to go back to your account page and confirm the domain. Once you have confirmed the domain, you can no longer change it. To confirm, click Confirm Domain.
Once you have confirmed your domain, the changes will be applied to your installation. This may take 24 hours to be actioned.
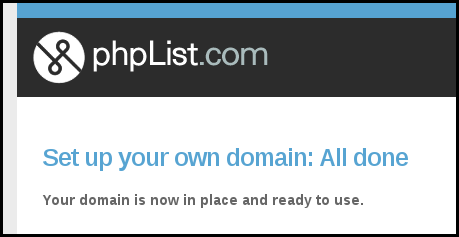
Ready to rock!
You’re done! Here are some notes on how to use your new setup.
- All mails sent from your installation will now use the new domain…
- …including the system messages (subscribe, confirm, unsubscribe etc)
- All link tracking urls will use the domain
- All subscribe pages will use the domain
However, the domain is only active on the frontend side of your installation. You will need to continue to log in to phpList as usual, using the yourname.hosted.phplist.com address for the admin pages. This is because these pages are secure, they are protected with SSL.
Why not leave a comment below, or email us, if you want to tell us how these changes help you in your work or if you have any queries.