Adding Subscribers (to Lists)
There are three main ways to add subscribers to your phpList installation:
- copy and paste a list of emails
- upload a file with emails
- upload a CSV file with emails and additional data.
This chapter deals with each of these methods in three stages:
- When and why you might use the import method
- Preparing your data
- Importing your data
Why is (to lists) in brackets?
It is important to remember that:
- Subscribers can exist on the system without being a member of any list
- In this chapter is assumed that you will be adding subscribers in the form of a list, but you can add them without making/choosing a list if you want to
- When you add a subscriber to the system for the first time, a subscriber profile is created
- Adding the subscriber to more lists does not create more profiles, all the subscriber details are saved in one profile no matter how many lists the subscriber is on
- Deleting the list does not delete the subscribers.
You can read the chapter about the difference between subscribers and lists for more information.
Copy and pasting
Why and when to use this method
If your data is very simple, just a long list of emails in a paper or digital document, then this could be the method for you - especially if you are not very confident with file formats.
If the emails are on paper then you could type them directly into the import dialogue, however, it is probably better to type them into a document first.
This is also the method you will use when you create a new list from subscribers that are already on your system.
Preparing your data for this method
Preparation for copy and pasting the emails in is minimal. You may need to do nothing at all.
If your emails are in a text file or a word-processing file, you need to open the file with the emails in, and make sure the data is just a list of emails, one on each line and with no punctuation.
If your emails are in a spreadsheet or csv file you do not need to prepare them. However, if this is the first time you will be adding the subscribers to the system you may wish to use a csv import to allow you to add more of your data to their subscriber profiles.
Importing your data
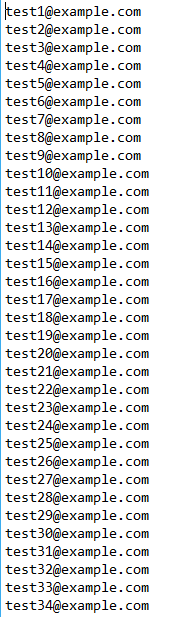
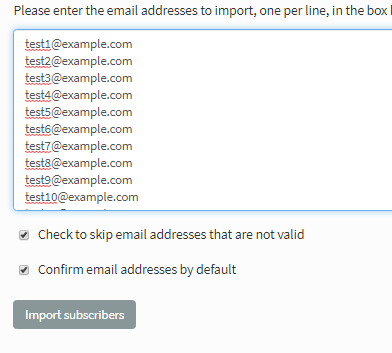
If your data set consists of a list of emails in a file, like this:
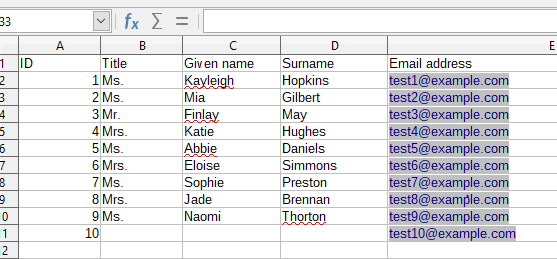
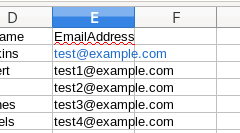
Or a complex data set in a spreadsheet like this, from which you only wish to upload the emails
Then first you need to select them in your document and copy them. This is often done by pressing:
- Control+C or
- Right click > Copy or
- Edit > Copy.
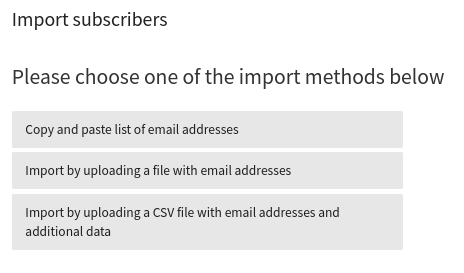
Then go to Subscribers > Import emails from the main menu
Click the copy and paste list of emails button in phpList
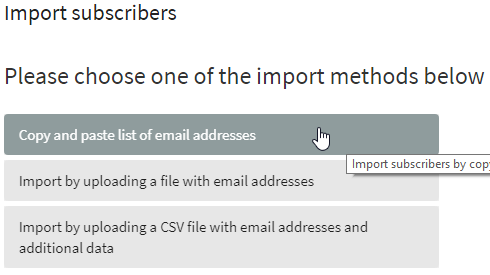
You will then see the following page:
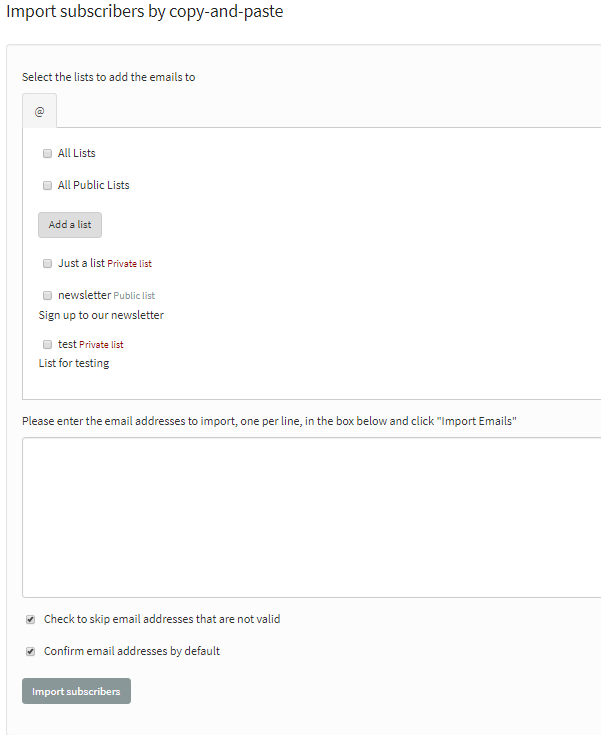
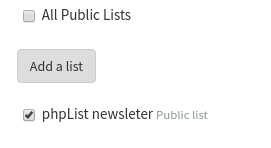
First choose a list by ticking the box next to the list name.
You may also Add a list, or tick All Lists. Also, it is best to leave the Check to skip emails that are not valid box ticked. Next, paste your emails into the box, using
- control+v
- Or right click and Paste.
Click the Import emails button.
You will then see the results of your import.

Upload a file with emails
Why and when to use this method
If you have a digital list of emails with no other data, and you know how to save them as a text file, then this is the right method for you.
If you have more than just emails in the file and you want to upload all of the information, you will need to use the CSV import.
Preparing your data
Your file needs to be formatted:
- One email per line
- No spaces, tabs, commas etc.
- You need to save it as plain text (filename.txt)
- You should only edit it in a text editor such as NotePad, TextEdit or Geany.
It is still possible to import this data when there is additional information after the email, for example:
test7@example.com age 23 from Southport likes chips with curry sauce
But, everything after the end of the email will be discarded. Additionally, if you have any punctuation attached to the end of the email, for example,
test7@example.com, age 23 from Southport likes chips with curry sauce
then the data will be corrupted because the comma at the end of the email address will be imported as part of the email.
Importing your data
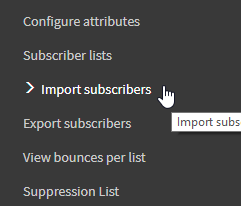
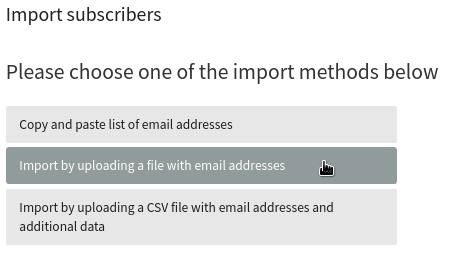
Go to Subscribers > Import subscribers from the main menu
Click Import by uploading a file with emails.
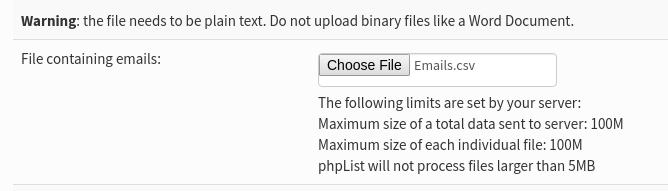
You will then see the Import Subscribers From Text File page.
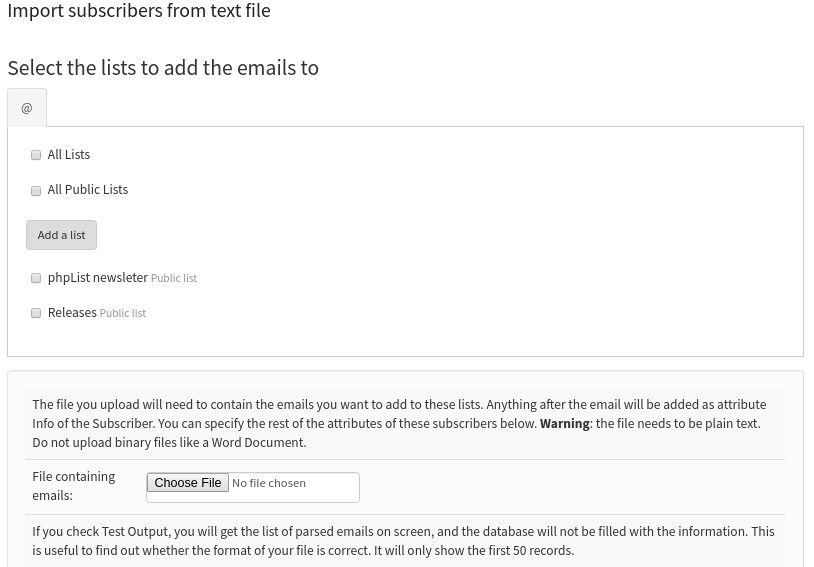
First choose a list by ticking the box next to the list name. You may also Add a list, or tick All Lists. Then select a file to upload by clicking the Browse... button. Navigate to the file on your computer and click Open. Then click the Import button.
You will see the emails importing.
Upload a CSV file: emails and some additional information
Why and when to use this method
This is the method used when you have a spreadsheet full of data, where there might be names, emails, addresses... Often this data will have been exported from another source, such as a CMS, CRM, webshop, database or email address book.
If you have such data, it is a good idea to upload a CSV file the first time you add subscribers to the system and you are asked to make a list (even though you will only be prompted to copy and paste). From then on, unless you need to re-synchronise or add some new data, you can just use copy and paste to add subscribers to lists.
Preparing your data
When you have emails and some additional information, such as Name and Gender, you need to
- Open the data in a spreadsheet
- Rename some columns to avoid or utilise phpList system values
- Save as a csv - make a note of the delimiter.
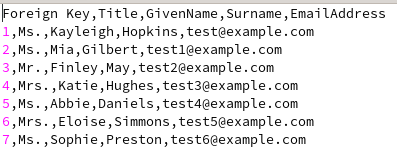
Example Dataset for CSV Import
In this example we have ID, title, first name, email address, height in cm and gender, and they are stored in a spreadsheet format (xls, ods or similar).

Data that includes an ID
When you use another application, a blog, webstore, CRM software etc, you may want to keep the data in phpList synchronized with the data in your other app.
phpList allows you to do this accurately by using a foreign key: this means that the ID tag or number used to identify an individual in your other application can also be used to identify a the subscriber in phpList. This means that:
- If a subscriber's email address changes in your other app, this can be updated in phpList
- Any changes to subscriber attributes can be updated automatically, for example surname, location, date of last purchase form your store.
If you wish to use the ID as a foreign key you should rename the column ID (or similar) to foreign key.
Renaming columns to avoid phpList system values
Some words are already used by phpList to describe data: these are called phpList system values. phpList will not allow you to import data from columns in your CSV when certain system values are used as a column title. These columns will simply be skipped when you try to import.
It is common for other software and web applications to use the same system values. Columns must be renamed before the data exported from one app can be imported into phpList. Here are some examples (a full list can be found later in the chapter):
- ID
- confirmed
- passwordchanged
Renaming columns to match phpList system values
Some columns can be renamed to match phpList system values, because those system values are designed to take imported data.
In the example below we rename the column Email address to Email. It is possible to achieve the same thing during import by mapping one term to another.
As another example, the ID column can be renamed to Foreign Key. This allows the data to be put to use in phpList when otherwise it would just be skipped. In this case, phpList would not allow you to map ID to Foreign key during import so this task must be done before upload.

A list of system values
Here is a table containing a list of all the system values and how phpList will deal with columns with that name if you try and import them.
| id | Will be skipped |
| Will import | |
| confirmed | Will be skipped |
| blacklisted | Will be skipped |
| optedin | Will import |
| bouncecount | Will be skipped |
| entered | Will be skipped |
| modified | Will be skipped |
| uniqid | Will be skipped |
| htmlemail | Will import |
| subscribepage | Will be skipped |
| rssfrequency | Will be skipped |
| password | Will import |
| passwordchanged | Will be skipped |
| disabled | Will import |
| extradata | Will import (as attribute) |
| foreignkey | Will import |
| unique_1 (2, 3 etc) or index_1 (2, 3 etc) | Will be skipped |
Saving the file
Next we need to save the file as a CSV file, a comma separated value file. You should ideally change the delimiter to tab. If it is not tab, you will at least need to be aware of what the delimiter is so you can tell phpList when you import.
Importing the subscribers
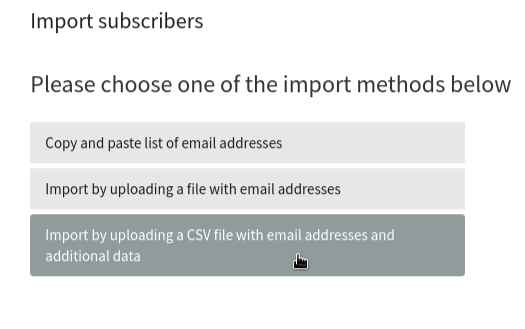
First go to Subscribers > Import subscribers from the main menu.
Click the final option for import by uploading a CSV file with emails and additional data.
You will then see the Import Subscribers From CSV Page.
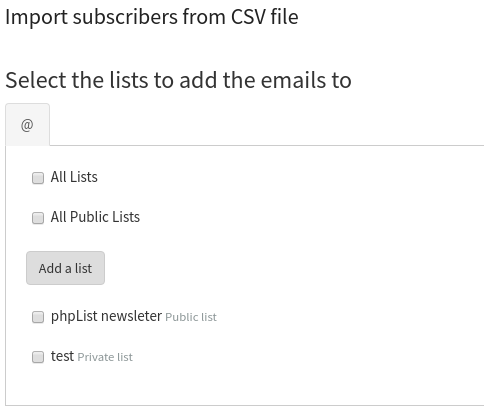
First choose a list by ticking the box next to it. You may also choose All Lists or Add a list.
Next upload your CSV file by clicking Browse..., choosing the file on your PC and clicking Save.
You must also indicate the delimiter, this is what separates each item in your CSV (in place of the column lines). If you are unsure what the delimiter of your file is, you can open the file into a plain text editor such as Notepad. You will see what is separating the items. In this case it is a comma, so we put a , in the Field Delimiter box.
There are various other options on this page, which all have a description. Generally, it is good to keep the Test Output option checked.
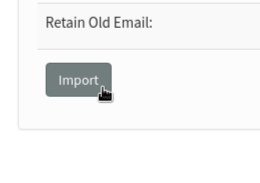
Use the Overwrite existing and/or Retain old email options to preserve the data set which should be held safe; it is the source of most up-to-date data.
When you have finished filling out this form, click Import.
You will now see a page where you can match the data in your file to attributes on the system. Attributes such as Foreign Key and Email will not appear on this page because the system deals with them automatically: all the attribute on this page are new to the system.
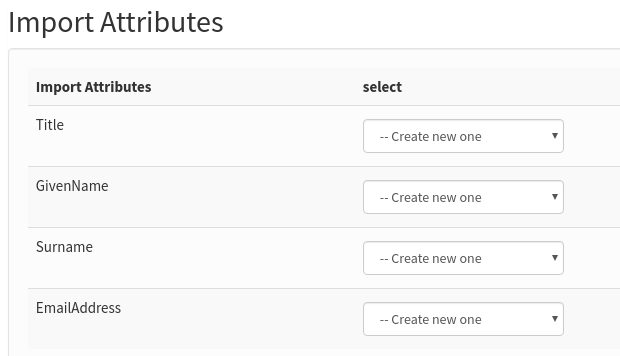
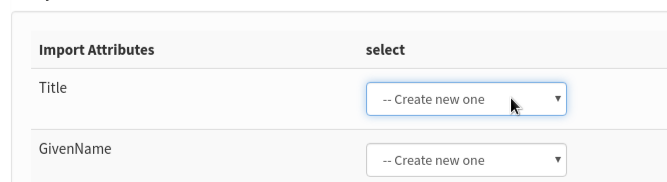
Click on each dropdown - is the correct attribute already in the list? If not, select Create new one. This will create a new attribute in your phpList so that next time you import similar data the system can deal with it automatically.
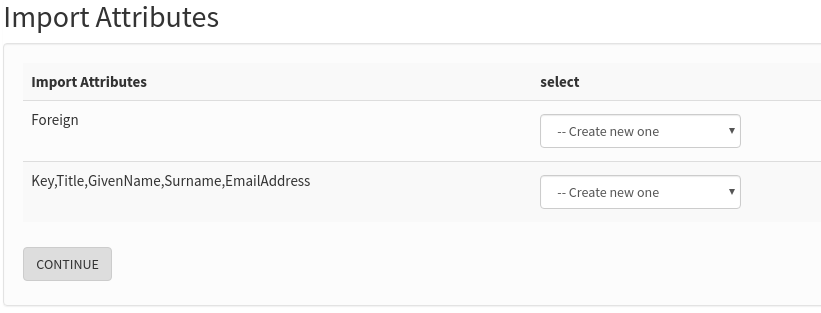
Problem? If you see something like the image below, where all your attributes are on one line, then you have used the wrong delimiter.
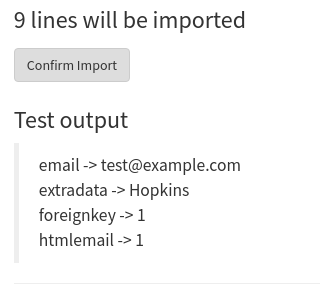
You will also see some test data, that will give you a strong indication of whether your import is going well. Each column title from your csv should line up with some data about one of your new subscribers.
Problems?
If you see anything wrong in the test, do not proceed! Click the Reset import session button to start again, check your delimiter settings and/or get help. A messy import is no fun to fix!
When all attributes have been dealt with and you are happy with your test data, click Continue.
You will be shown a summary of what will happen when you import. Now you can see that Foreign Key and Email are matched automatically, and all your other attributes will be created for you.
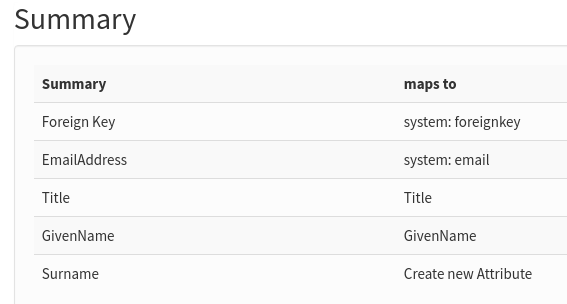
If you are satisfied, click Confirm Import.
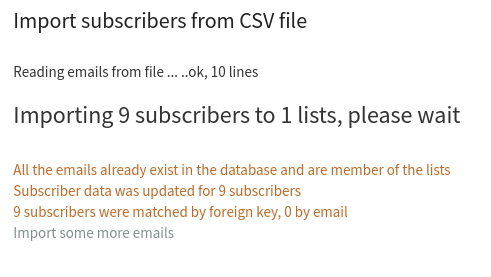
You will see that your subscribers and their data has been imported.
Feedback
You can discuss this chapter here.