Installing phpList manually
This page concerns phpList self-hosted users only. If you have a registered account at the phpList Hosted service, please contact hosted@phpList.com.
This chapter explains how to install phpList manually. You may wish to install it using an automated tool if one is available to you. See the auto-installation chapter for more information on this.
Overview of phpList installation
You can download phpList from:
- Download page
- SourceForge
- Docker Hub
phpList lives in its own folder called "lists." Manual installation follows these steps:
- Download phpList
- Unzip phpList
- Upload to your server using FTP
- Local Windows installation
- Create a database
- Add the database details to the config.php file
- Configure using web interface.
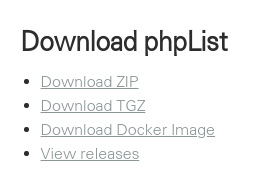
Download phpList
First check that your server meets the System Requirements. Then download the latest version of phpList from http://www.phplist.com/download by clicking either Download ZIP or Download TGZ.
The link will take you to SourceForge, where your download will begin after a few seconds. Depending on which browser you use, you may be asked to click Save before the download starts.
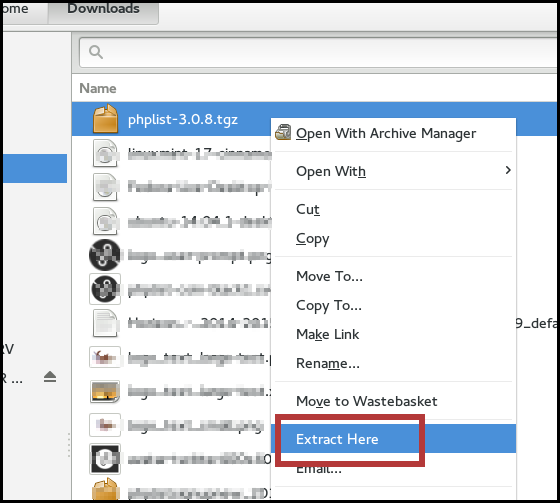
Unzip phpList
Once you have downloaded phpList to your computer, unpack it to a temporary folder. You can usually do this by right clicking and choosing Extract Here (Linux, as in screenshot), double clicking the folder (mac) or right click "extract all" (Windows).
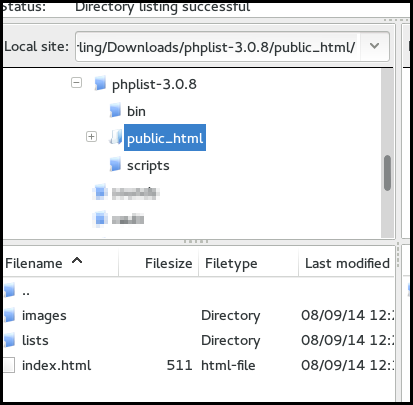
Upload to your server using FTP
Start your favourite FTP program, in this case we are using FileZilla.
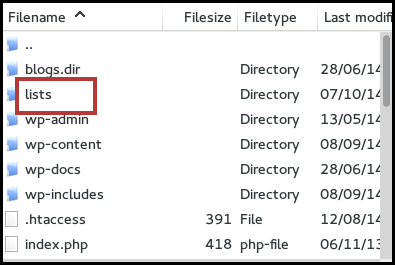
Browse through to your temporary folder in the FTP program, then open the public_html folder to find the lists folder.
Upload this /lists folder into your public_html file on your server. This folder may have lots of files in it already. In the image below you can see the public_html folder on the server contains folders for a WordPress site.
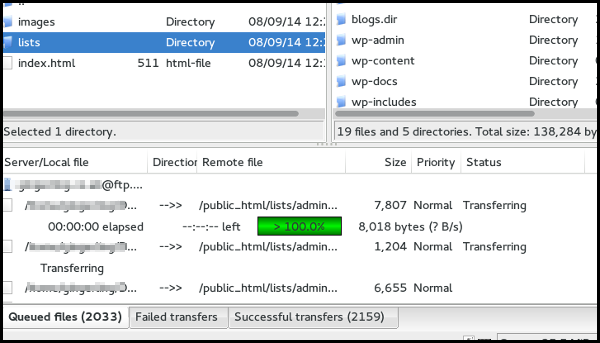
Grab a Coffee!
This upload may take some time, you may even have to split it over a number of partial uploads depending on your connection speed, time outs and upload limits.
Local Windows installation
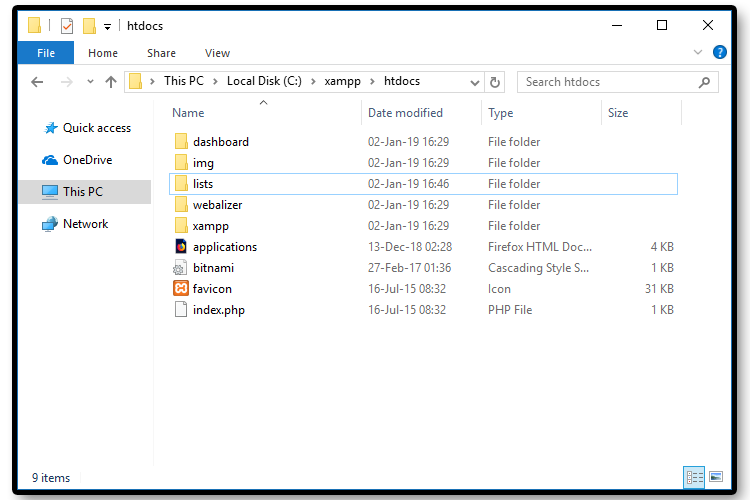
If you do not own a server or you want to develop locally, you can also install phpList on your Windows machine. First, you need to download the XAMPP package and install it in your PC. After installing, copy the /lists folder as stated in the previous section and paste it in the htdocs folder of XAMPP.
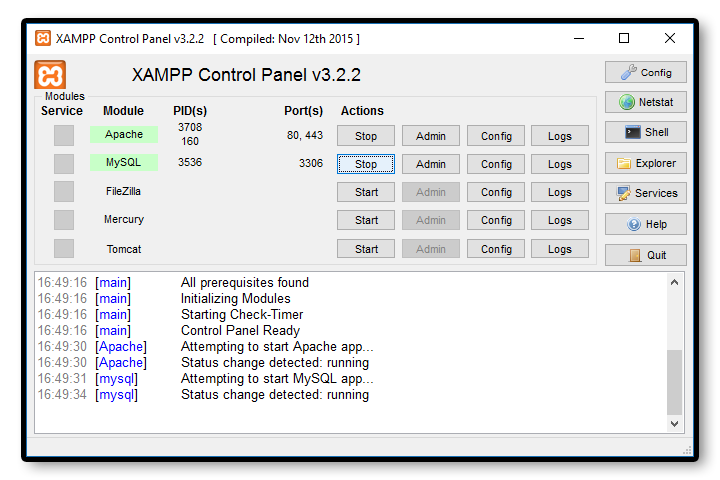
Next up, you must run the XAMPP Control Panel and start the Apache and MySQL server. Now we are ready to create a database for phpList on which to save the data.
Create a database using your control panel
Once you have uploaded the /lists directory, go to your hosting control panel or to the localhost from your browser and create a database. If you need help, your web hosting company can help you with this.
Whatever the process, you will always end up with three things:
- A database name, for example cl52-phplist
- A database username, for example phplist
- A password for your database, for example T!LcDaM/4
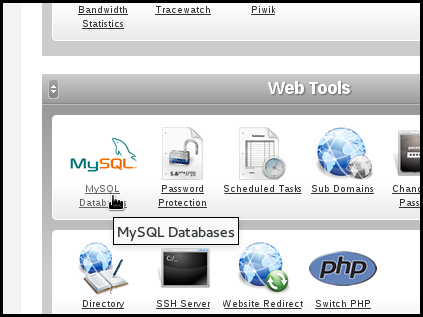
An example of creating a database
These screenshots provide an example. This may or may not be similar to the way you can create a new database on your server. That depends entirely on which software your hosting company uses.
First click MySQL Databases.
Then type in the new database name (we used the name phpList) and enter or generate a strong password. Make sure you keep a copy of these details!
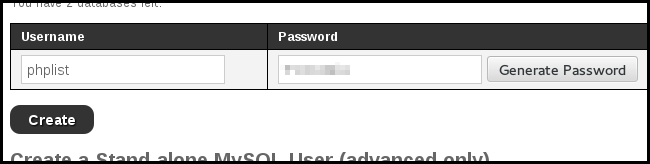
This system creates a user automatically, where the username is the same as the database name (a common preference). In other software you may need to add a new user separately and you may also need to allocate this user to your database.
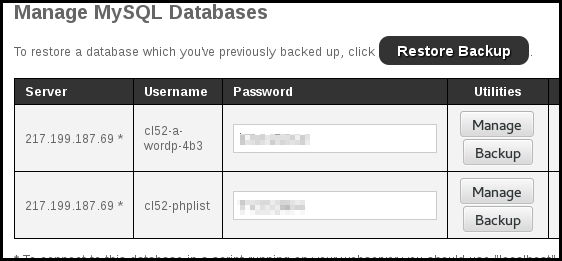
Your database is now ready. Copy down the details because you will need them in a moment.
Edit the phpList config.php file
Next, you need to put the details of your new database into your configuration file.
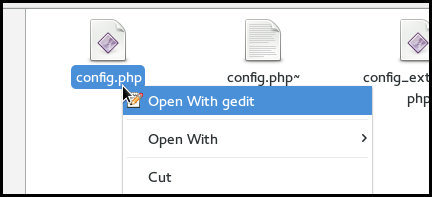
Browse your temp folder on your computer and go to lists > config > config.php. Load and edit this file in a text editor, such as Notepad (windows) TextEdit (mac) or Geany/Kate/Geddit/etc (Linux).
Never use a word processor program (like Microsoft Word), it will only generate formatting and disruption.
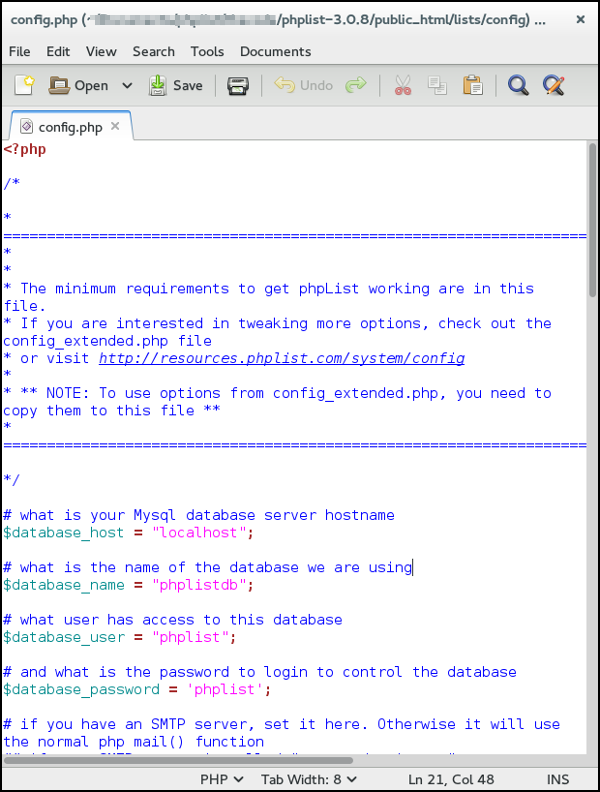
Your freshly downloaded config.php should look something like this:
Difference between config.php and config_extended.php
phpList only uses config.php so if you change any settings, please do so in this file. config_extended.php is there as that has pretty much every setting you can change stored within it.
If you wish to use the full configuration file you can rename config.php to config.old.php and then rename config_extended.php to config.php and use this file to make your changes.
To summarize, config.php is there as basically “a quick start” file, this contains the minimum settings you need to set phpList up and if a setting is not set, phpList uses a predefined value that “fits most”.
If your setup needs more tweaking, or you have specialized needs, then either
- use the extended file, renaming as described above
- copy and paste the relevant settings into the smaller config.php file
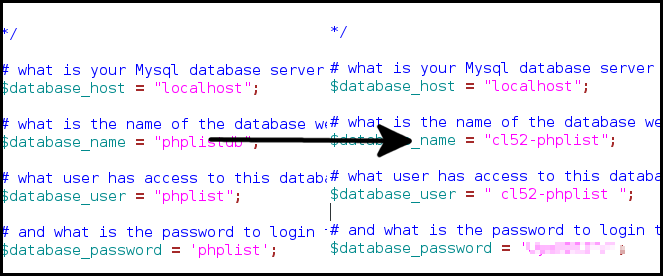
There are four places where you need to replace the word in "quotes" at the end of a line of code with something specific to your server:
What is your Mysql database server hostname
$database_host = "localhost";
If you do not know what to enter here, you will either need to use trial and error, or ask your hosting provider what to put here. If you want to keep things simple, ask your hosting provider.
Trial and error:
You may be lucky in that your server allows "localhost" for your $database_host entry, in which case you don't need to make a change (this was true in our example below). The second option to try is "127.0.0.1".
If these fail you will receive an error towards the end of installation. If both of these fail then this entry must be something specific to your server. GoDaddy and 1&1 servers are pretty specific, for example.
What is the name of the database we are using
xxxxxxxxxx
$database_name = "phplistdb";
Replace the phplistdb with the name of your database that you set up earlier. In our example below this is cl52-phplist.
xxxxxxxxxx
# what user has access to this database $database_user = "phplist";
Replace thephplistwith the name of your databse user you set up earlier (this may be the same name as your database). In our example below this is also cl52-phplist.
# and what is the password to login to control the database $database_password = 'phplist';
xxxxxxxxxx
Replace the phplist with the password you created. The password in the example below is obscured.
Test mode in phpList: ("TEST",0)
One other thing you will need to do, either now or at some point in the future, is to change the value of TEST in this file. Until you do this, your install is essentially in "sandbox" mode, and will not fully function.
By default test is defined ("TEST",1). Change this to define ("TEST",0) to be able to send messages out.
This is done automatically in the auto installers.
Note that subscribers cannot confirm themselves while Test is enabled, as they will not receive confirmation emails, and therefore neither campaigns.
External SMTP servers
Often you will want or need to use an external mail server for handling phpList email, instead of your local machine (by default phpList uses PHP's built-in mail(); function).
To use an external SMTP server with standard STARTTLS settings, customise, then add these lines to your config.php file:
define('PHPMAILERHOST', 'mail.server.hostname');
$phpmailer_smtpuser = 'user@login.com';
$phpmailer_smtppassword = 'user_password';
define("PHPMAILERPORT",'587');
define("PHPMAILER_SECURE",'tls');
If the mail server is using a self-signed certificate, then you need to add the following as well:
xxxxxxxxxx
$phpmailer_smtpoptions = array(
'ssl' => array(
'verify_peer' => false,
'verify_peer_name' => false,
'allow_self_signed' => true
)
);
Config_extended.php
You may need to add some extra lines to your config.php. These extra lines are ready made for you in config_extended.php, which is in the same directory as config.php. Simply copy the lines you need and paste them below the others in config.php
Save and upload
Once you have edited the config.php file you need to save it and upload this new version to your server. This can be done in the same way as your initial upload: open your ftp client, find the lists/config/config.php file on your pc and then upload it to lists/config/config.php on your server.
Go to your installation
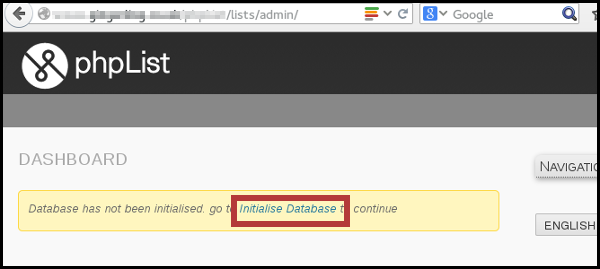
Open your web browser and go to your installation. This is located at http://mywebsite.co.uk/lists/admin.
If you get an error saying that the database has not connected, then check your config.php file again: a tiny error such as a space before/after your database name/password will stop this from working.
When you see the grey and black interface with the phpList logo at the top, you are in the right place.
Or on your right, choose Initialize database under the Config option.
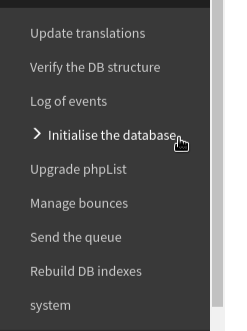
After version 3.6.6, as an administrator you are also able to initialize your database from the command line.
The final steps
Click Initialise Database and fill out the form.
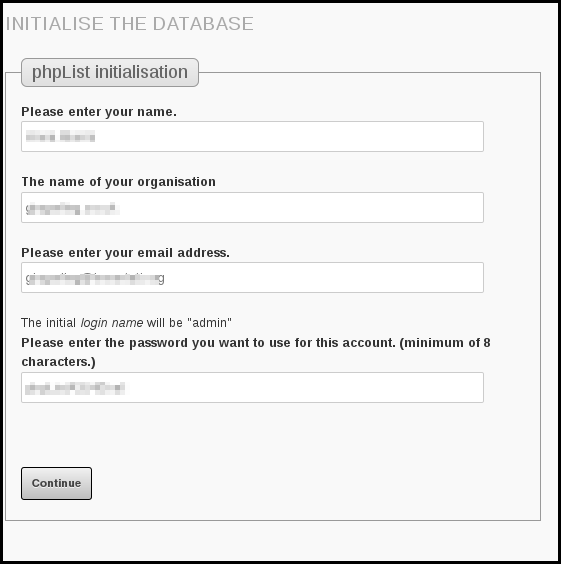
Click Continue
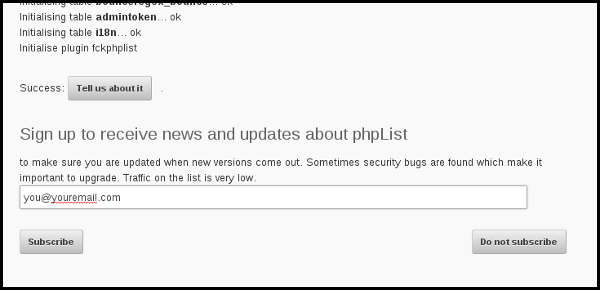
- If you would like to email phpList to let us know you are using the software, click Tell us about it.
- We recommend that you sign up to receive email announcements about new versions of phpList. You can enter your email and click Subscribe. If you do not want to sign up, for example because you are already on the list, then click Do not subscribe.
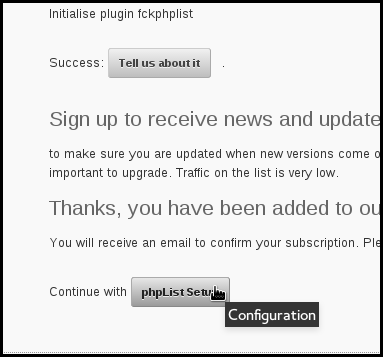
Finally click to continue with phpList seutp.
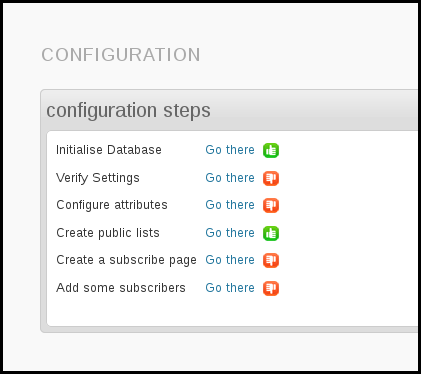
You're done!
You have now finished installation, and the next step is configuration.
Downloading phpList from the command line
The wget command
To download the phpList files you can use the wget from a Unix-like command line. You can use the wget command as follows:
xxxxxxxxxx
wget [option]... [URL]...
In order to check further how to add more options to your command, you can check the GNU Wget 1.20 Manual or type "man wget" on your command line for a description of the command.
The scp command
scp copies files between hosts on a network. It uses ssh(1) for data transfer, and uses the same authentication and provides the same security as ssh(1). scp will ask for passwords or passphrases if they are needed for authentication. You can use the scp command as follows:
scp [OPTION] [user@]SRC_HOST:]file1 [user@]DEST_HOST:]file2
Here is a detailed guide on how to use the scp command.
Feedback
Discuss this chapter here.