Templates
The templating system in phpList is designed to create a workflow that keeps things simple for the campaign creator.
The Templating Workflow in phpList
There are two elements to the workflow:
- Creating and uploading a template; this is done very rarely
- Choosing and using the template; this is done for every campaign
Step one is the more complex and it is often done by a web designer or system administrator. We cover this in the creating a template chapter. There is also a really easy templates chapter to help you if you do not have a designer.
The second part of the workflow is very simple. The person creating the campaign simply selects the template by name from a drop down menu after the campaign message has been written.
The template is then applied during sending, like a wrapper around the text, and the person sending the campaign does not come into contact with the template code at all.
The template is not applied to emails sent to subscribers who request a plain text email.
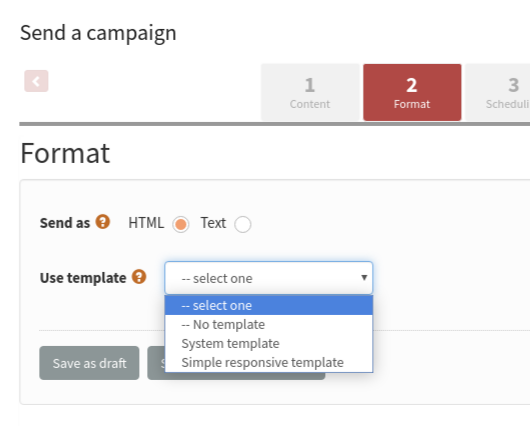
The very first step is to create your campaign and add content. Go to Campaigns > Send a campaign and add your content. The second step is to add a template for your campaign. You can choose between the default templates or choose one you have uploaded yourself. To do that click the Format button next to the Content button.
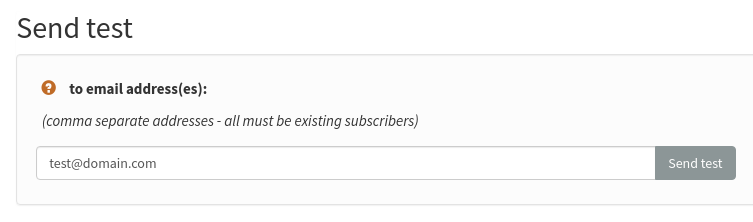
Send test
In order to be 100% sure that the final result of your campaign will look as you wish for your subscribes, it is recommended you send a test campaign to yourself. On the bottom of your page you will find the "Send test" field. You can send a test campaign to more than one email addresses.
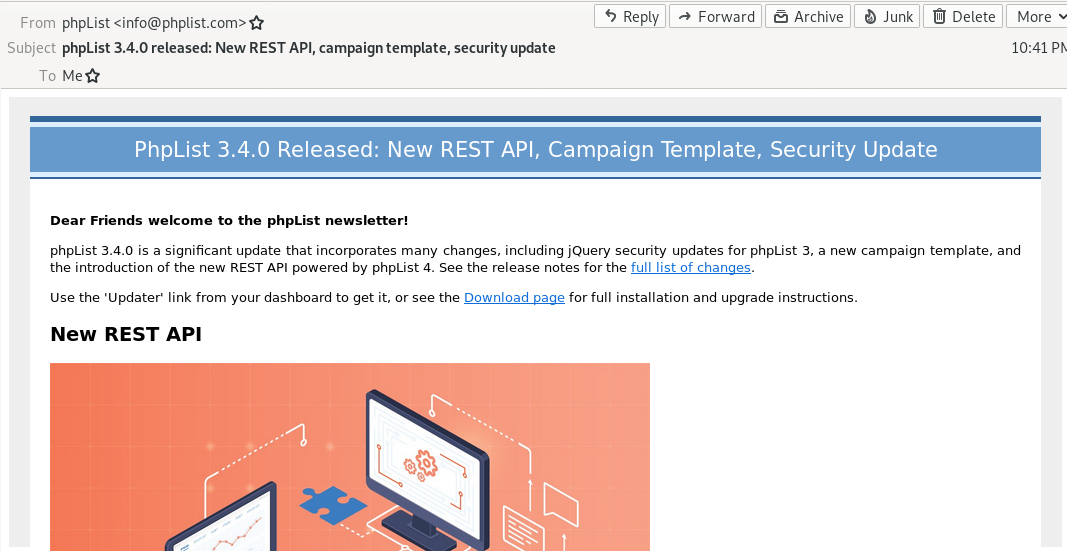
 On the email you will receive you will notice that your campaign is wrapped by the template. If you are happy with its look, you can proceed with sending the campaign.
Feedback
Discuss this chapter here.