Composing your first campaign
In this chapter we will talk through composing and sending a very basic email campaign, which contains a simple piece of news and a single image.
The example follows on from the previous chapter, using Ethical Pets. In this scenario a "short dated" cat food needs to sell quickly. They decide to email all their customers to tell them about the special offer.
Getting Started
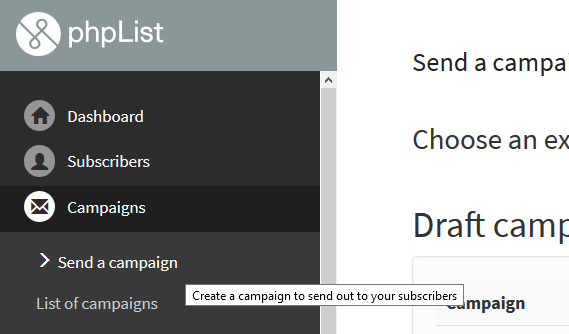
To start a new campaign in phpList, navigate to Campaigns > Send a campaign from the main menu.
This will open up a five-tab dialogue which will guide you through the build-and-send process. Please note that various settings and plugins add more tabs.
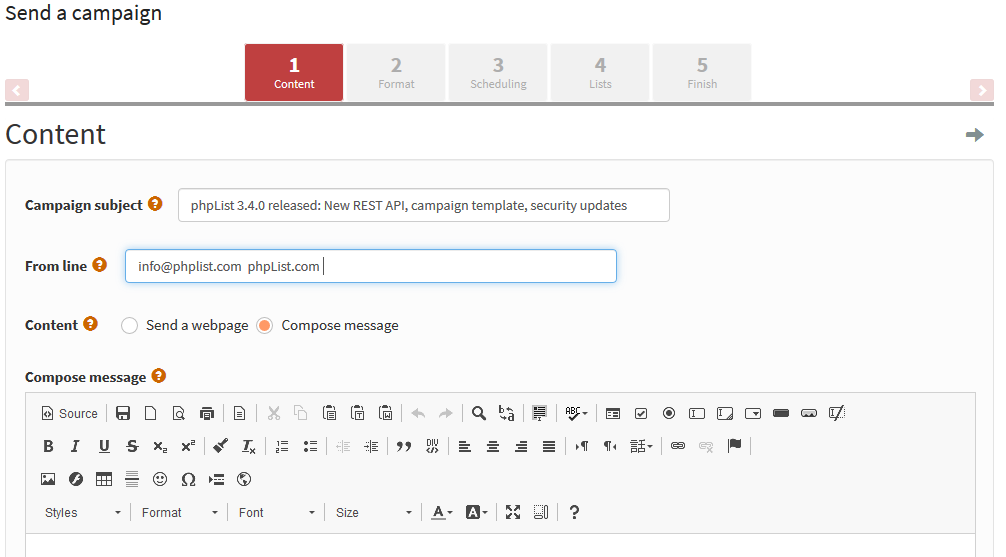
Message composition of the campaign is done in the first tab - the Content tab.
The Content Tab
There are three tasks to complete in this tab. You must write your subject, edit the From line and create your message in the compose message window.
Subject line
The subject of the email is the first thing that your subscribers will see, so it's very important. Make sure that your subject line:
- Is honest about the content of the email
- Avoids spammy sounding words or phases (Free, hot, opportunity, risk free, etc)
- Is less than 50 characters long if possible
- Is eye-catching and appealing
- Is easy to understand, with a clear meaning or appealing hint
- Contains a "call to action" if possible/appropriate (so Read, Buy, Sign, Donate)
Sometimes you will have to compromise, prioritizing some of these points above others.
Here is what Ethical Pets said about this subject line:
"The most urgent goal was to sell the food, so the subject needed to be eye-catching. 50% off is pretty eye-catching, however, we know that it could get flagged as spammy by filters, so the wording was a little risky. We also needed to be super clear that the food was short-dated.
To both things to make this possible within the 50 characters we had to shorten the super clear "Best Before Date: 20th of August" to the more concise" (BB: 20/8/14). This would make sure that the best before date would be visible in the subject line.
We also decided that the tactile and soothing "Puuuur" sound in the little joke at the beginning was worth sacrificing a direct call to action such as "Buy Organic Cat Food, 50% off", especially as using "buy" and "50% off" in the same subject line would make it even more likely that the mail would get flagged as spam.".
The From Line
The second step is to edit the From line - your subscribers will also see this information. In phpList this information is usually auto-filled from settings in your system configuration, and is formatted Name [space] email. In this case the automatic information was originally: admin info@ethical-pets.co.uk.
Ethical Pets changed it to "Admin" to "The Ethical Pets Humans". They said
"Admin seemed a little unfriendly for the purposes of this email, so we changed the name to something more fun, and it really fitted into our campaign. However, the email remains the same. We usually just write Ethical Pets though. We always use our real email, because sometimes we get replies from customers too, which is great."

Ethical Pets allowed replies to their email, however, you may wish to use a "do-not-reply@example.com" style email: this depends on the number of replies you tend to get, what they are about, and the purpose of the email.
For detailed information about formatting the From line click in the i information button next to it.
The Content
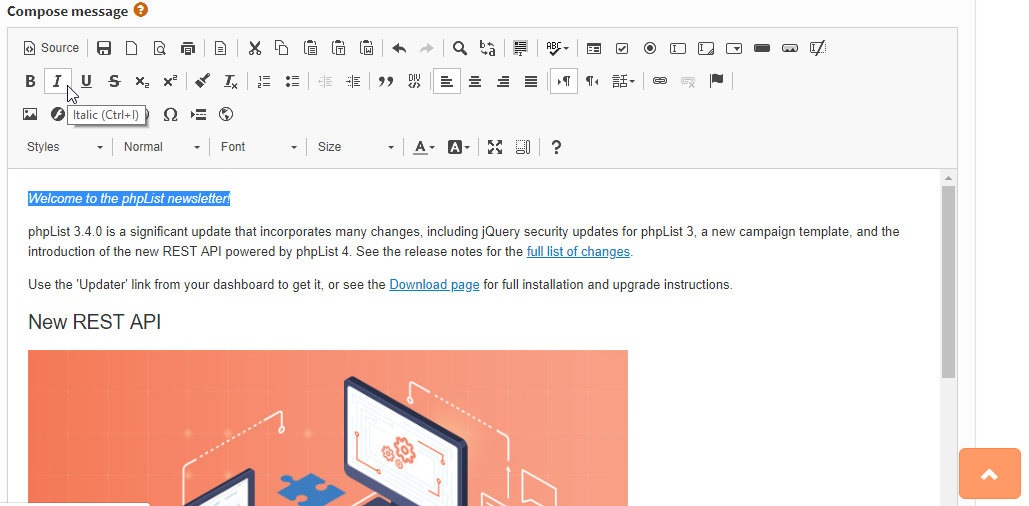
The next step is to compose your message. In this example, we will compose the message directly in the phpList Content window.
Assuming you have your What-You-See-Is-What-You-Get (WYSIYWG) composer plugin installed and enabled (usually FCKEditor) you will be able to edit in a way that is similar to a Word-Processor or a blog site. In the example below, we have composed our text, and are using the Italic button to draw attention to some text.
Adding an Image
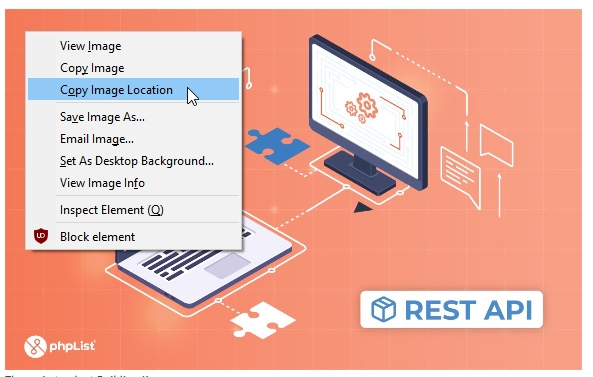
The simplest way to add an image to your campaign is to embed one from your website, or from an external source such as Wikimedia Commons. To do this you need to find the URL of the image from your site.
Depending on your browser, this may be done by right-clicking on the image and clicking Copy Image Location or similar (in Internet Explorer it may be under right click Properties).
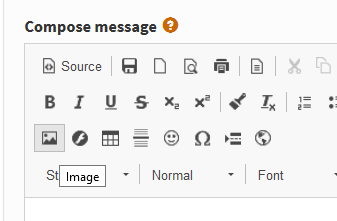
Then, in your phpList window click the Insert/Edit Image button in the WYSIWYG toolbar.
You will then see the Image Properties dialogue.
Paste the image url into the URL box (highlighted in red below) by using control-v or right click Paste. You should see the image in the Preview box below. If there is an error, the most likely culprit is the URL.
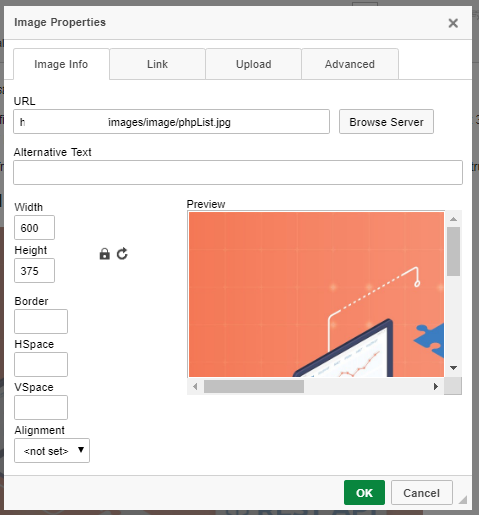
Image formatting and metadata
You should include an Alternative Text for the image. This will show in place of the image when the image is suppressed by the recipients email software, which is quite common. A good alternative text helps encourage your reader to decide to view the images in the email: this in turn makes your Campaign Statistics more accurate.
You may also wish to change the display size of the image: Ethical Pets chose a Width of 200, and the height was adjusted automatically because the Lock Ratio padlock is locked). You can also chose to Align the image, in this case they chose Right, to make it display on the right hand side of the email. They also gave it an HSpace and VSpace of 5, which added 5px (just a little bit) of space between the email text and the image.
Once you are done, click OK.

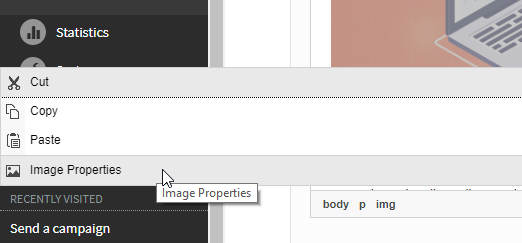
You will now see the image displayed in your email. If you wish to edit it again, right click the image and click Image Properties.
Creating a Text Link
Now a link to the store was needed, to show subscribers where to buy the food. To create a link, first highlight (with your cursor) the bit of text that you want to become a link:
Next you click the Inset/Edit Link button
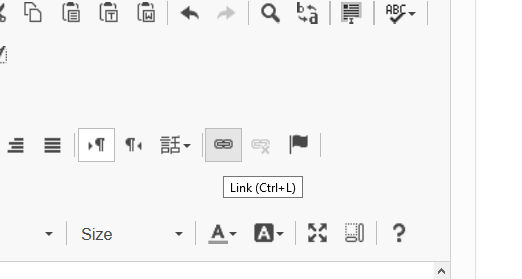
Finally, you paste the URL of the page you wish to link to into the URL box, and press okay.
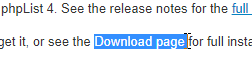
When your subscribers receive your mail they will see the link, as below, and will be able to click the text to go directly to your website. In your campaign statistics you will see how many clicks you had.
Note that links which use the URL which they point to as the link anchor text will not be tracked by phpList. This is because link-tracking requires automatic link rewriting, but doing so would result in a link which would trigger spam filtering systems. Therefore links like this will not be tracked on statistics pages http://my-website.com.
Once you have finished composing your message, you are ready to move onto sending your campaign.
Test your campaign
It is easy to skip this step because sending the mail is so exciting, but it is really important to check... and after all, it only takes a few minutes.
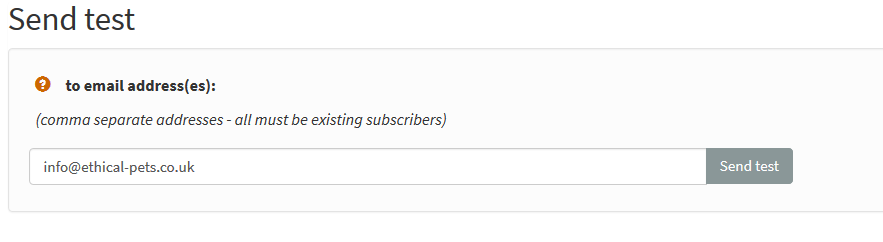
To send a test you need to enter your email into the Send text box at the bottom of every screen in the campaign workflow. You can send multiple test emails by separating the addresses with a comma - it is a good idea to test in both Webmail (like googlemail) and a client (like Thunderbird).
All the emails you send a test to must already be on one of your lists: if they are not, you will be prompted to add them.
Once you have entered the email, click Send test.
Check that the
- formatting is displaying as expected
- your links go to the right places
- you have not made any spelling errors.
If you find a mistake, edit your campaign and test again. Once happy with your text part of your Campaign, click on the Next button.
Feedback
Discuss this chapter here.