Creating a template
Creating your template
There are lots of ways to create your template. You could
- Design and write your own
- Pay someone to do this for you
- Modify a generic/Open Source template that you have bought or "recycled"
- Use the super-simple DIY template in the next chapter.
Here are some tips to help you set up your template for use with phpList.
If you don't understand the information in this chapter and you don't have anyone to help you with your template, then skip to the next chapter for a super simple template.
The Basics
You should use inline styles, and unless you have configured phpList especially with a plugin, you must use a single column template.
If you choose a responsive template, your campaign editor should not use images with a width larger than a smartphone screen (max 320 by 480 pixels).
Logo: upload or remote link?
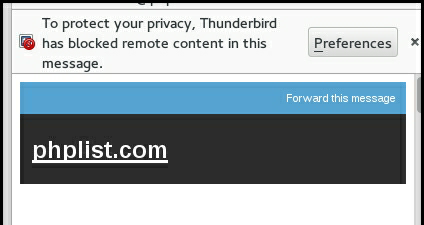
When you are designing or modifying your template, you need to decide if you will include your logo in the campaigns as an attachment or use a remote image. If you include your logo as an attachment it will always display to the recipient.

If you use a remote link, however, the image will only display when the subscriber gives permission (in most email and webmail clients).
If you decide you upload your image then leave the local link (or just a use a "broken link") and you will be prompted to upload the image when you are adding your template to phpList.
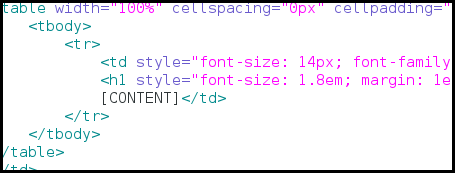
A mandatory placeholder in the body
You must include some strings that phpList will replace during the sending stage.
[CONTENT]
The obligatory string is [CONTENT]. This will be replaced with the content of your message when you send your campaign.

Adding your template to phpList
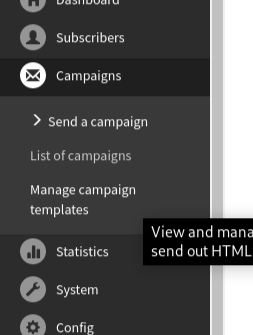
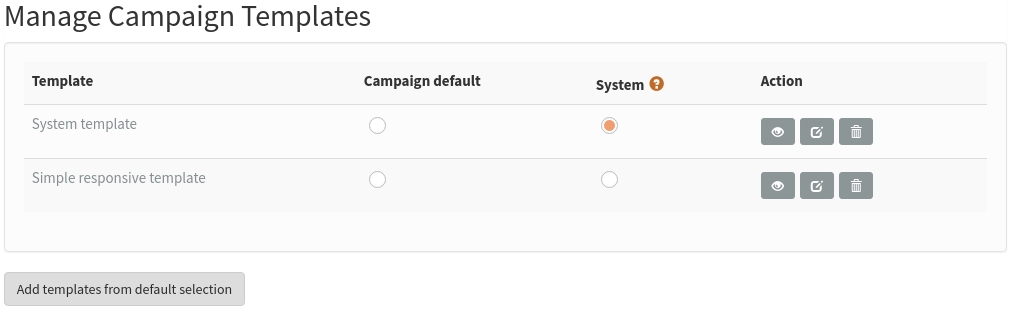
To add a template to phpList, go to Campaigns > Manage campaign templates from the main menu.
You will then see a list of templates already in the system. By default there is one template, the System template (which styles things like the confirm subscription emails).

Click Add new template.
 Name your template
First, give your template a Title. This will display in the list of templates to choose from during the campaign composition stage, so it is important that the name makes sense to the person writing the campaigns.
In this case we called the template Simple responsive template, because it is the template we use when we announce a new version of phpList. We have different templates for community news and phpList hosted special offers, for example.
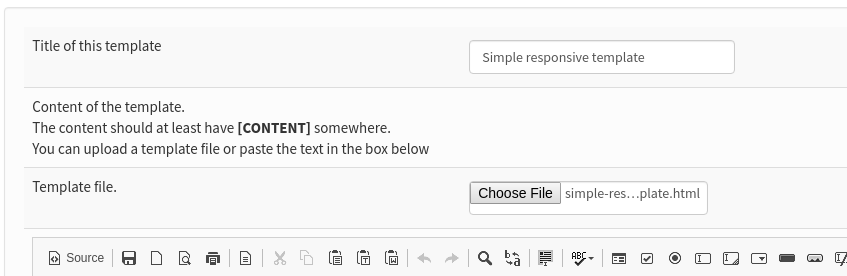
Upload your file
To add your template you can paste the html into the editor, or upload it as a file. In this example we are uploading it.
Click the Browse button, locate the template file on your computer and click Open. The file name will then appear next to the Browse button (as shown in the image above).
Save your template
Scroll to the bottom of the page and click Save changes, using the checking tools if you wish.

Upload your logo?
The next screen gives you an opportunity to upload your template images, if you have any. This will usually be a logo. In this case the logo is hosted remotely and so no image is listed to upload.
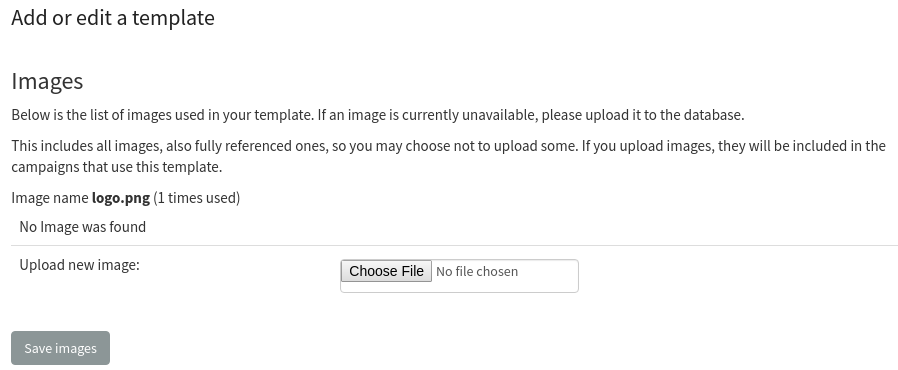
Click Save images.
Your template will now be added to your list of Existing templates.
If you wish to set this template as the default for all campaigns, you can check the button under CAMPAIGN DEFAULT.
Defaults and settings
There are some default settings for templates and footers at Config > Settings under campaign settings. For example you can choose which template will be used by default by referring to its ID.

The ID of the template can be found by hovering your mouse on the template name.
Using your template
During campaign composition, use headings and other formatting as normal. You do not need to apply any additional styling such as text colour, if those elements are dealt with in your template.

In the Format of the send campaign workflow, select your template from the Use template dropdown.
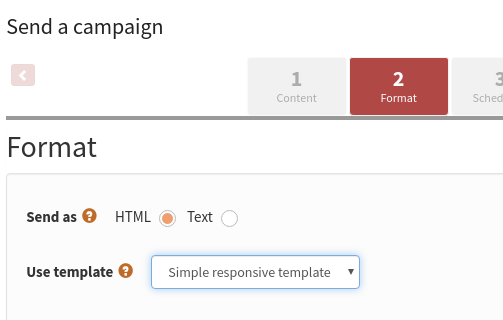
The template and theme are then applied during sending.
Feedback
Discuss this chapter here.