Using Attributes
phpList is pre-configured to deal with some data about your subscribers, for example email address, number of bounces (bouncecount) and their phpList ID number: these are called system values. Attributes are used for any other data you want to add to the system about your subscribers, usually demographic information.
Some common attributes are Name, Age, Gender and City. Some bespoke examples could be height, annual income, names of pets or kids and favourite genre of book. The attributes you use are entirely up to you to decide.
Once you have collected/uploaded attribute data, it can be used to connect to your subscribers more directly and with better precision, by using placeholders and the segment plugin.
There are two ways to create attributes:
- Create them in bulk when you import a csv file
- Create them manually from the configure attributes page
- Edit them from the configure attributes page
This chapter will explain how to create attributes. How to use them is covered by the placeholders chapter and the segment plugin documentation.
Creating Attributes when importing data
When you import complex data using the "csv with additional data" method, attributes can be easily created (in bulk) from column titles which are not already listed as an attribute.
Do not create new attributes for email and other system attributes, you must map those to the pre-existing system attributes listed in the dropdown.
In the image below, five new attributes are being created, and EmailAddress is mapped to Email.
Surname and Gender are standard attributes, however, the subscribers' height in Centimeters is more unusual. phpList treats all these attributes in the same way: there are no restrictions on the subject matter of an attribute.
Once an attribute has been created, any column headed with the attribute name in future csv files you import will be mapped to the attribute automatically. You will not need to create the attribute again.
If there is new data for a pre-existing subscriber, it will be integrated into the subscriber details by using email address or Foreign Key as a reference.
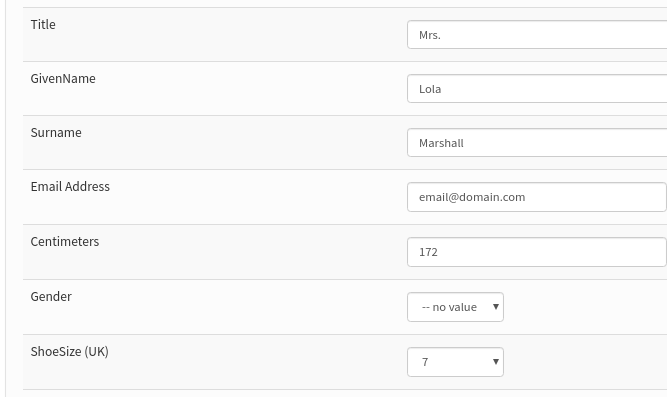
In the image below, for example, we have subscribers on the system already, and now have added ShoeSize as a new attribute. Where our new dataset provides a shoe size for a pre-existing subscriber, this new attribute data is simply added to the details.
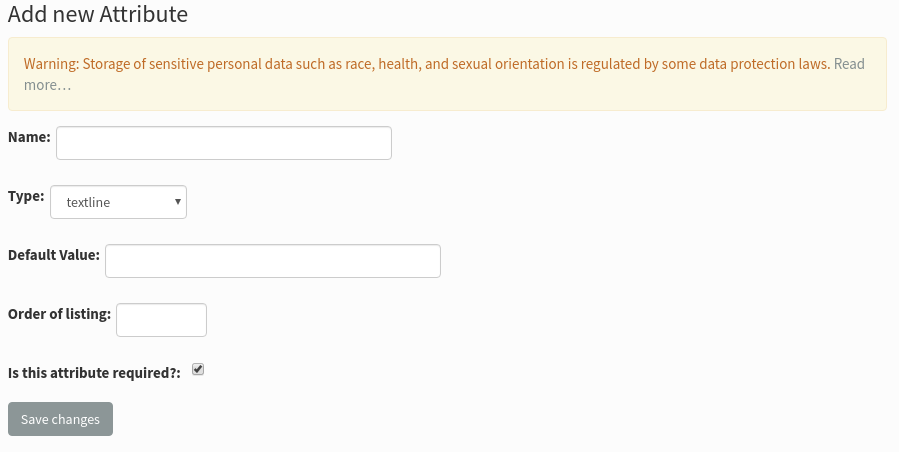
Creating and editing attributes on the Configure attributes page
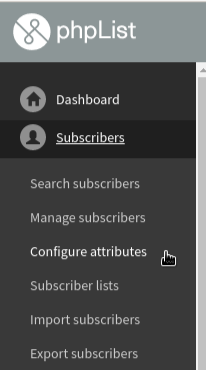
To create or edit an attribute manually, go to Config > Configure attributes from the main menu.
From there you can create a new attribute:
You can also edit existing attributes:

You can,
- Specify/change the name
- Choose/change the Type, which dictates the input method on your subscribe pages (see the example edit below)
- Choose/change the Default Value, which dictates the standard value on the subscribe page (you may need to change this on the Subscribe page editor too)
- Make the attribute required, so subscribers must give the information in order to sign up (warning: mandatory fields may deter subscribers)
Additionally, you may
- tag them to delete one or more attributes
- tag to merge several attributes together
Example edit 1: changing the type from text line to select
In this example we will change the Type of the attribute for ShoeSize, which was automatically created during a CSV file import, from textline to select. First we change the type to select using the dropdown menu, then we click the Save changes button at the bottom of the page.
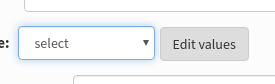
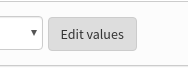
Then we click the edit values button which appears below the Type: dropdown.
We can then add all the shoe sizes we want.
If you are editing an attribute that already has data in the system, some values may already be listed: if you try to add these again phpList will skip them rather than create a duplicate, so you can simply list all the values you want rather than search through.
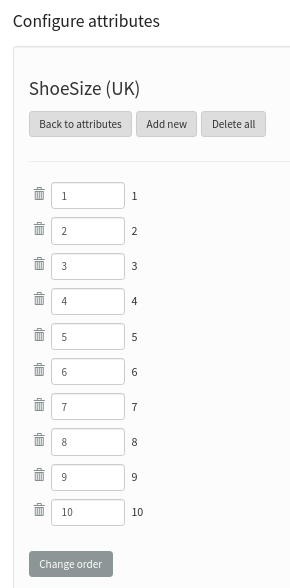
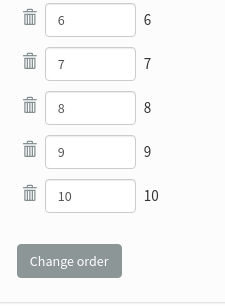
You can change the order of the values for the attribute. This will affect the order in which they are listed in the dropdown on the subscribe page. In this example the shoe sizes had become jumbled because some were already in the system and some were not, so we re-ordered them.
By changing the order, the choice given to subscribers when they sign up is clearer.
Using Attributes
The primary use of attributes is as placeholders. Please see the placeholders chapter for information on how to use them. The segment plugin and the attribute select plugin allow you to send emails to subscribers with certain attribute values.
Feedback
Discuss this chapter here.