Creating a subscribe page
A subscribe page usually consists of a short form that a visitor to your website can fill out to subscribe themselves to one or more of your lists. Here is an example:
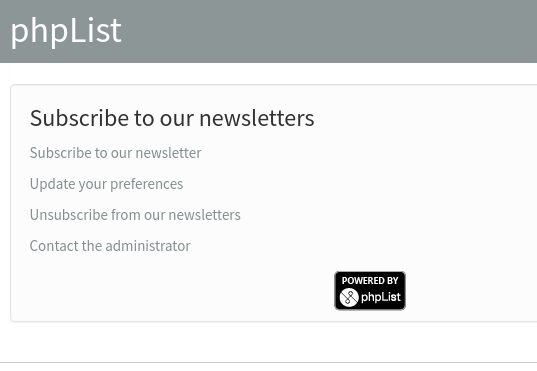
In the example above, the subscriber is asked to input their email address and to confirm it. They can then choose to receive a text version format and they can add their first and last names if they wish.
In phpList you can have an unlimited number of pages, combining any set of Attributes, Lists and Languages.
Additionally you can use pages in conjunction with scripts to create subscribe forms which integrate more closely with your website. As this is a custom-made process for individual sites we do not have generic documentation about it.
Create a page
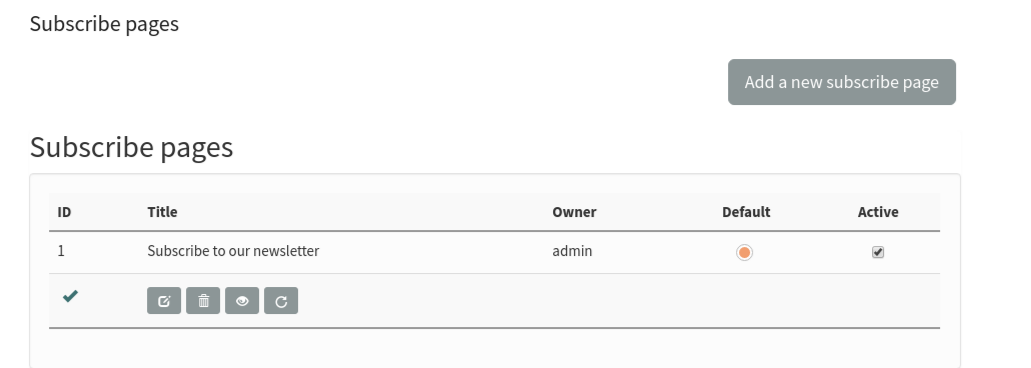
To get started with your subscribe page visit Config > Subscribe Pages.

Initially you'll find this page empty, with no subscribe pages to display, although there is a default subscribe page at www.yourdomain.com/lists.
The first page you make will replace this default page and later you can set any page as default.
To create a new page click Add a new subscribe page.
This will open a page called EDIT A SUBSCRIBE PAGE. Customize a Subscribe Page
The subscribe page editor is broken into four collapsible areas:
- General information
- Select the lists to offer
- Select the attributes to use
- Transaction messages
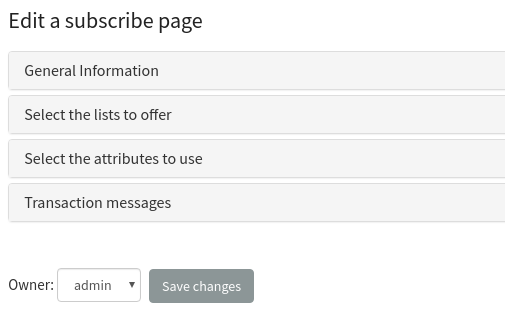
These sections will guide you though creating a subscribe page which meets your specific needs.
General information
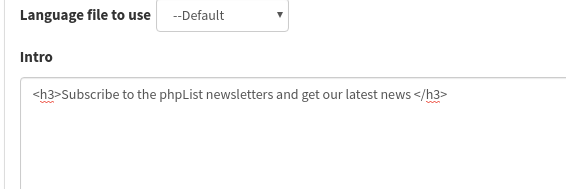
The first box edits the titles and text on the page. Enter your title in the Title box first of all.
You can leave Language file to use as --default, unless you are creating a page for a language other than the one you use for your installation, for example, if you are creating a multi-lingual system.
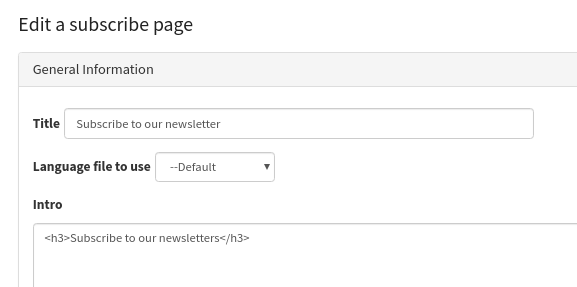
You can change the text in the intro too.
The Header and Footer dialogues are used for html editing, and the default code in them is taken from Config > Settings > subscription-ui settings. We will discuss this further in the Subscribe page design and configuration chapter.
You can edit the text in the Thank you page and Text for button too, however, the standard texts are suitable for most situations so you may wish to just leave the defaults as they are.
General Information: HTML or Text
The last section of the general information sections is on HTML Email choice. It is very important and it directly affects the quality of your lists and the subscribe satisfaction.
You can create a HTML email in phpList, with images and other design elements, and also a plain text version, with just text, no images, colours etc. Some subscribers prefer only text, they may want plain text for technical reasons, for example for compatibility with assistive software for a visual impairment, or it may simply be a personal preference. If you are planning on sending HTML messages you will want to avoid large numbers of your subscribers accidentally signing up for text only emails. You will have wasted time on a design they will never see and they may be less interested in your mails.
It is therefore worth spending time on this section, deciding how you would like to present the text vs. HTML options.
The default is Don't offer choice, default to HTML, where the box defaults to unchecked on the subscribe page. Although, you can check any other field.
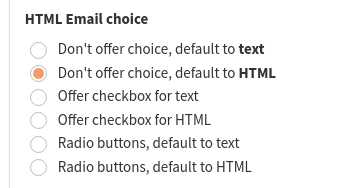
If you intend to send emails in HTML format it is best to make the "path of least resistance" be the signup for HTML. Many subscribers will ignore the box, or may not know what HTML vs. text means.
Transaction messages
These are the messages sent to the Subscriber based on various actions, such as subscribe and unsubscribe. The defaults are taken from Config > Settings > transactional settings. It is possible to edit these, although the defaults are suitable for most situations.
Select the attributes to use
This section allows you to choose which attributes, which personal/demographic data, you will ask for from your subscribers on the page.
You might ask for generic information like name and city, or something more specific, like shoe size or hobbies. The use of attributes is described in the Attributes and Placeholders chapters.
In this example we collected First Name and Last Name only and we did not make either of them required because many people do not wish to give out personal information. We had several other attributes to choose from.
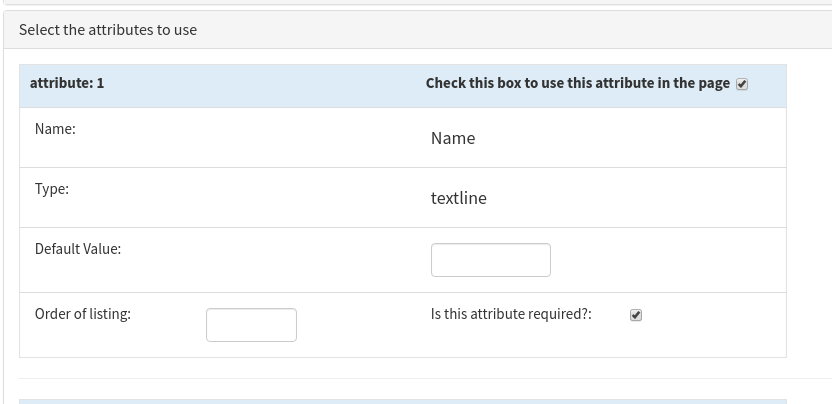
The Type: is defined in the attributes editor. The Default value can be different on each subscribe page if needed.
Please note that if a customer does not change the Default value when they subscribe, whatever you set it as here will be added to your database.
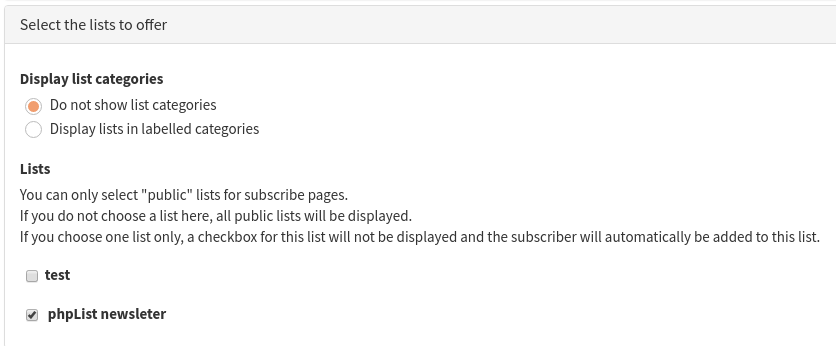
Select the lists to offer
This final section allows you to select which lists to offer. If you select only one list, then the subscriber will not be given a choice. If you select multiple lists, then the subscriber will be able to select which lists they want to join. In this example we chose only one list.
Save your new page
Click the Save button at the end of the page when you are ready. You will be able to edit the page again later if you want to make a change.
You will then be directed back to your Subscribe Pages list. We can now see one page.

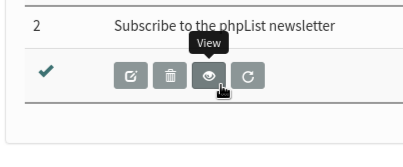
View your page
To view your new subscribe page page click the magnifying glass icon next to it on your subscribe pages list (Config > Subscribe pages from the main menu).
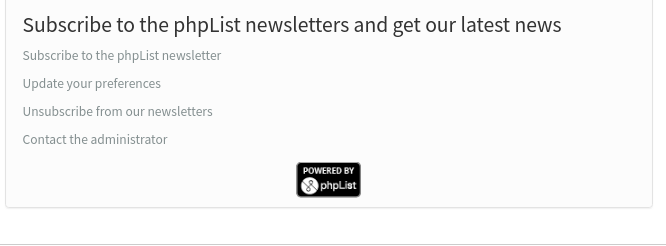
Your page will look something like this:
Use your page to add a subscriber as an admin
One additional functionality of the subscribe page view is to add a subscriber to your database quickly, without needing to go into the administrative interface. If you view the subscribe page while logged in as an adminiatartor, you will see an additional box:
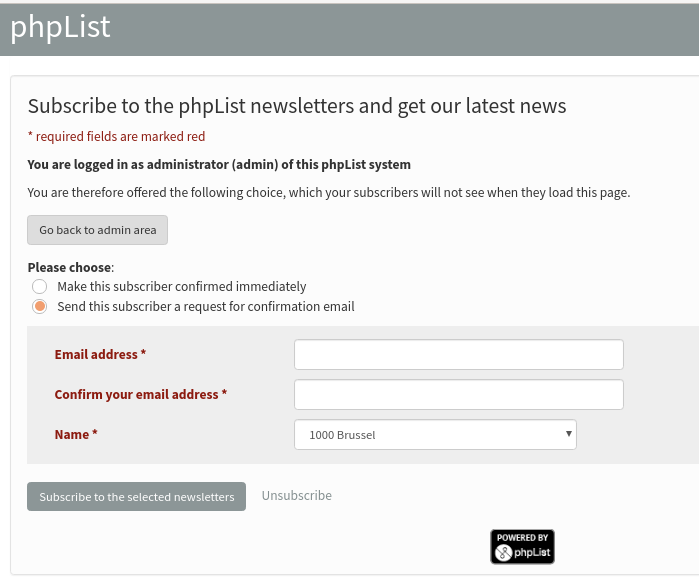
This box allows you to add a subscriber by filling out the form on their behalf, and you can specify if you need to send them a confirmation request or not. This can be useful if you are talking to the new subscriber on the phone, for example.
Add an AJAX subscribe box on your website
To make it very easy for your subscribers to sign up, and stay on your website, you can add an AJAX form to your website.
Step by step
1. Create a subscribe page that only requires the email address to be filled out.
This means for HTML Email choice, select Don't offer choice, default to HTML and for Display Email confirmation, select Don't display email confirmation. Make sure the subscribe page has at least one list to subscribe to and do not select any attributes as a requirement.
2. Set the text to show when subscription was successful in your Settings page.
3. Use the following code on your website.
<script type="text/javascript" src="http://ajax.googleapis.com/ajax/libs/jquery/1.4.2/jquery.min.js"></script>

<form method="post" name="subscribeform" id="subscribeform" enctype="multipart/form-data"> <table border=0> <tr> <td><div class="required">Email</div></td> <td class="attributeinput"><input type=text name="email" value="" id="email" size="40"></td> </tr> </table> <input type=hidden name="htmlemail" value="1"> <input type="hidden" name="list[11]" value="signup" /> <input type="hidden" name="subscribe" value="subscribe"/> <button class='button' onclick="if (checkform()) {submitForm();} return false;" >Subscribe</button> <div id="result" style="color: red;"></div> </form>

<script type="text/javascript"> function checkform() { re = /^\w+([.-]?\w+)@\w+([.-]?\w+)(.\w{2,3})+$/; if (!(re.test(jQuery("#email").val()))) { jQuery("#result").empty().append("Please enter a valid email address"); jQuery("#email").focus(); return false; } return true; } function submitForm() { successMessage = 'Thank you for your registration. Please check your email to confirm.'; data = jQuery('#subscribeform').serialize(); jQuery.ajax( { type: 'POST', data: data, url: 'https://installationname.yourdomain.com/lists/?p=subscribe&id=1', dataType: 'html', success: function (data, status, request) { jQuery("#result").empty().append(data != '' ? data : successMessage); jQuery('#email').val(''); }, error: function (request, status, error) { alert('Sorry, we were unable to process your subscription.'); } }); } </script>
Members of the community forum have provided some useful insights regarding the website AJAX integration. You can find the discussion thread here.
NOTE 1: Your subscribers will be automatically added to all the lists that you selected for the subscribe page.
- The ID of your Subscribe page is the one passed as a parameter in the URL, id=1 in the example's javascript
- For consistency, the ID in brackets in the list[11] input should be that of your Subscribers list, the one that the Subscriber page is configured for (see Config/Subscribe Pages)
- If your Subscribe page has attributes, especially required ones, they should be added to your <form> as <input name="attribute6" value="your-need" />
NOTE 2: If you already use jQuery on your page, you may not need to load it again.
NOTE 3: This functionality has been tested with Internet Explorer 8 and 9 and Firefox 3. In other browsers, or in case of an error, it will redirect to your phpList hosted installation to allow your subscribers to sign up.
NOTE 4: The URL used for these AJAX callbacks includes p=asubscribe, not p=subscribe like regular subscribe pages
NOTE 5: If test=0 in your phpList config.php file, then all subscribers remain unconfirmed as no confirm mail is sent.
NOTE 6: If SMTP settings are incorrect then subscription won't be allowed due to failed confirmation sending, and the AJAX submission will fail regardless of the email address.
On the community forum you can also find several topics related to this. All you have to do is search for "embedded subscribe page" or "website integration".
Feedback
Discuss this chapter here.