Methods of Sending (Browser, Cron, Command-line)
This page concerns phpList self-hosted users only. If you have a registered account at the phpList Hosted service, please contact hosted@phpList.com.
Setting up phpList for sending is a complex topic, there are many (many) variables, most of which which are out of the control of phpList developers, such as your hosting provider and server configuration.
In our early chapters, we have assumed that you are sending from the browser, to a small list, and that your phpList has been configured already.
How sending works
Once your campaign is ready, you need to tell phpList to send the campaign. There are two steps to this:
1. Submit the message to the queue.
When creating the campaign, the last tab of the workflow is the 'SEND' tab. Pressing the 'start campaign' button submits the campaign to the sending queue.
2. Process the queue, either manually via the browser or command line, or automatically via a cron job or remote queue processing system.
Manual sending using the browser
This is the simplest way to send. You must:
- Leave the browser open while your process the queue
- Leave your computer active (not asleep) while you process the queue
- Be aware that your hosting provider may not allow emails to be sent this way by default, or may suspend your account if you send volumes which breach their terms and conditions.
This method of sending works essentially as described in the chapter on Sending your first campaign. Using the default configuration file settings, either click the Process Queue button which is presented as the final step of the campaign workflow, or use the System > Process queue option from the main menu.
Once you begin sending you must leave the browser open: if the browser is closed while the message is sending, the queue processing will stop. To continue sending where you dropped off, you will need to open the browser, log into phpList, and "System"/"Process queue" again, leaving the browser open.
The system will send the queue using the settings in your config file (config.php), which controls the send rate, the envelope header, and so forth. You should talk to your hosting provider about these settings, they may want you to send in small batches or have a cap on the number of mails you can send each hour.
phpList.com remote queue processing
A wide explanation of how the phpList remote queue processing works is on the Resources page. Additionally, here you can can find some of the most frequently asked questions.
One way to bypass the issue of leaving your browser open without creating a cron job is to use the phpList.com remote queue processing system.
This means that once you click to process the queue, phpList.com will keep your system sending after you close your browser: you are still sending from your server, and according to the settings in config.php - phplist.com just keeps your system "awake" for you.
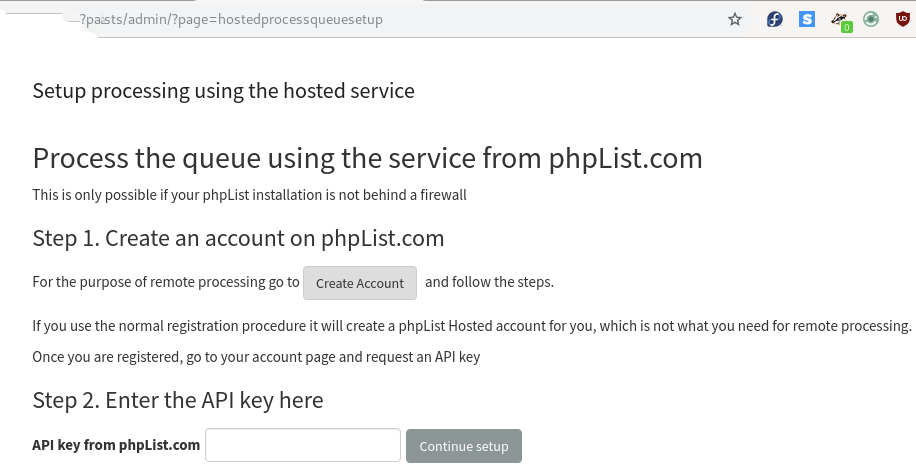
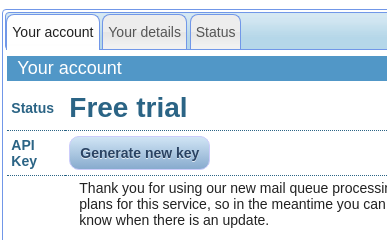
You will be prompted to consider this process the first time you send. If you have previously sent messages then visit http://yourdomain/lists/admin/?page=hostedprocessqueuesetup to get started.
You should see the following page.
Click Create Account.
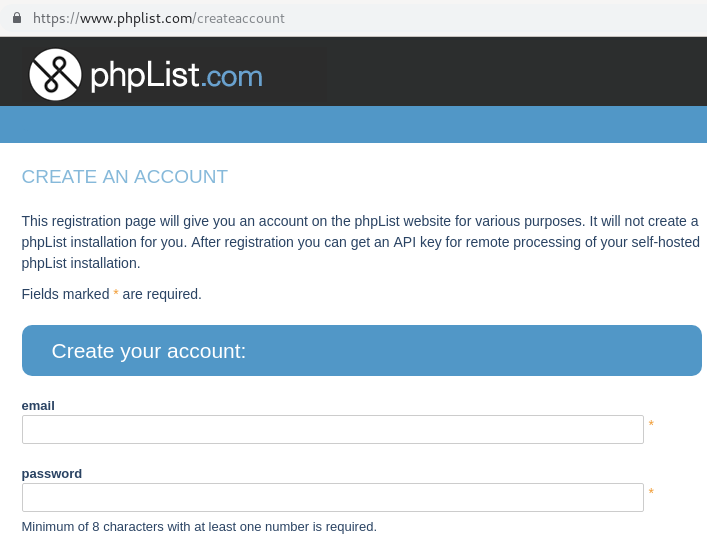
This opens a window with a phpList.com page enabling you to create a special phpList.com account. Fill out your details and click Create account.
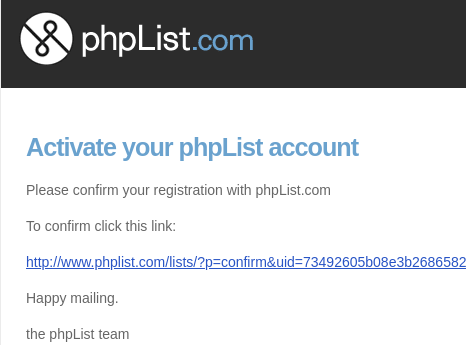
You then need to go to your email account and click the link in the confirmation email.
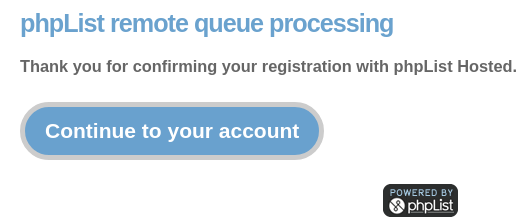
Click Continue to your account to go to your new account.
Click Generate new key to get your API key.
Copy the API key.
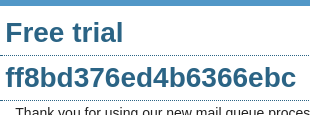
And paste it into your phpList installation, into the Enter the API key here box on http://yourdomain/lists/admin/?page=hostedprocessqueuesetup

Click Continue setup.
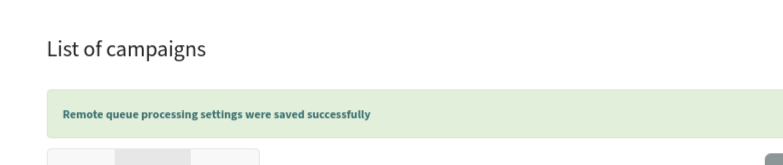
The process is now complete. When you add a message to the queue, it will be processed according to your settings.
Queue processing from a remote computer using a secret (Config > Settings > Secret for remote processing)
This is essentially the same system as above, but you don't use the phplist.com service, you use another server of your choosing. Documentation for this is here.
Automatic queue processing using the command line and Cron jobs
Background
A more advanced phpList configuration is to configure automatic queue processing from the command line of the computer (shell terminal). These are the most powerful ways of sending and they have many advantages. However, setting them up can be complicated for a variety of reasons including:
- Restrictions of hosting companies, such as GoDaddy, Hostgator and others
- Features of your virtual machine (VM) hosting account
- (In)Ability to ssh into the server to test commands
- PHP settings configured by your hosting company
- Working through a web based interface such as cpanel, or plesk to test and setup the required exact commands needed
- Limited access and permissions due to account type and user limitations
- Every hosting company sets this up a little differently, so require a setup specific to your exact situation.
If you don't understand, or give up trying to understand all these details, look for qualified third party support to configure this and/or offer hosted solutions that include automatic queue processing.
The Command line
The core of setting up the automatic processing is the command line that will 'do the deed'.
For queue processing, the general format is:
/usr/bin/php /home/mydomain/lists/admin/index.php -pprocessqueue -c/home/mydomain/lists/config/config.php
Breaking this down:
/usr/bin/php This is the command that invokes php. Your path may vary, as well as the exact php command ( php-cli or php-cgi). The exact path to the php command will need to be changed to match your system.
/home/mydomain/lists/admin/index.php This is the fully qualified path to the index.php file in the /lists/admin directory of your phpList installation, as seen by the php command (above). Getting this right usually requires some experimenting, and/or asking your hosting provider. The '/home/mydomain' part will need to be changed to match the layout of your system.
-pprocessqueue This specifies the action that you want to perform (processqueue)
-c/home/mydomain/lists/config/config.php This is the fully qualified path to the config file with your settings. The '/home/mydomain' part will need to be changed to match the layout of your system.
Once you determine the exact command line that will process the queue on your machine, then you need to run that command periodically via a cron job (also called a 'scheduled task' in the cpanel interface).
Setting up a cron job to periodically run the Command Line
See the chapter "Setting up your Cron".
Feedback
Discuss this chapter here.