Advanced Campaign Statistics
This chapter covers
Basic statistics, as found in the Statistics Overview, are covered in the chapter called Basic Campaign Statistics.
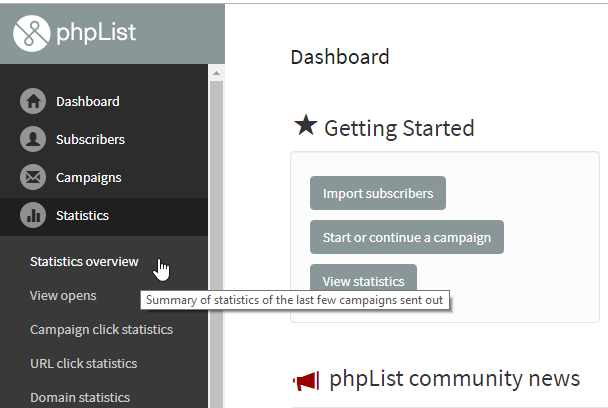
The Statistics Menu
To get a basic understanding of what data is available you can work methodically from the top down, first viewing each page, then seeing what links are provided in each page, and onwards. You will often come full circle.
In this chapter we will approach our drilldown from analysing one campaign, covering both opens and clicks. You can also compare multiple campaigns, or focus on a specific URL you are trying to drive traffic to. The approach you take depends on the questions you are trying to answer.
Drilling down into an individual campaign
The starting point for an analysis of a single campaign is the campaign statistics overview. This can be found in Campaigns > List of campaigns > Sent Campaigns by clicking on the graph button
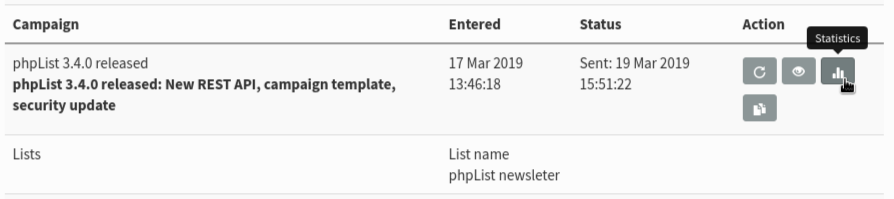
and also by visiting Statistics > Statistics overview and clicking on the name of the campaign.
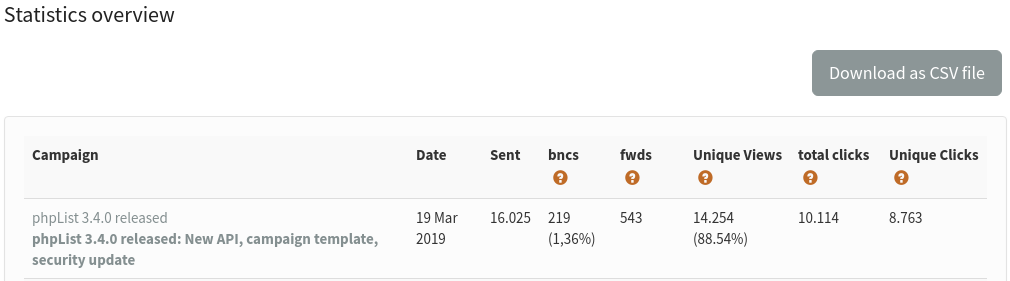
Either of these routes will bring you to the Statistics Overview for a campaign. The page gives you an overview of information and two ways to drilldown are available.
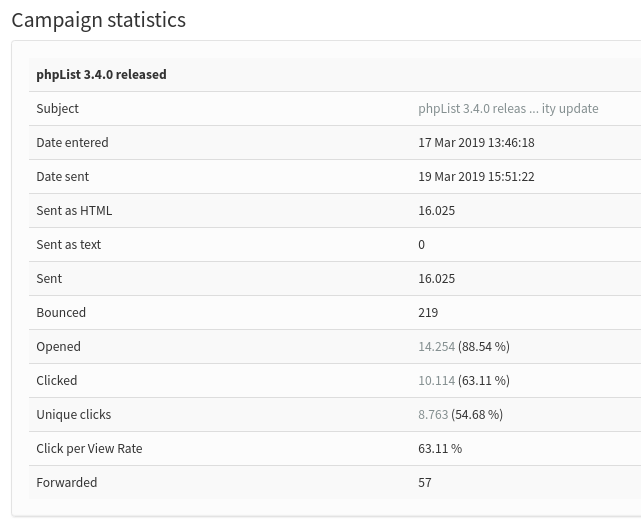
Opened Drilldown
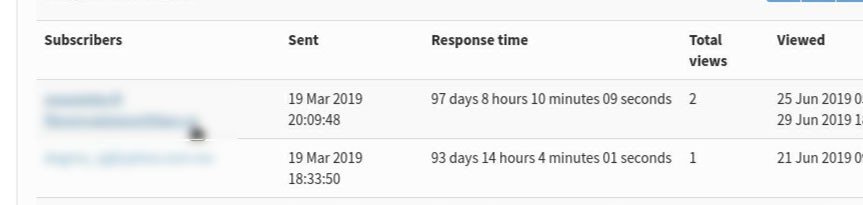
By clicking the number of opens, you can get a a page called Open Statistics.

This page allows you to Download as a CSV file a list of those subscribers who were registered as having opened the campaign (remember this is by no means everyone, only those recorded).
The csv file can in turn be used to create lists of active subscribers, or by using the list-exclude feature you can isolate inactive subscribers too.
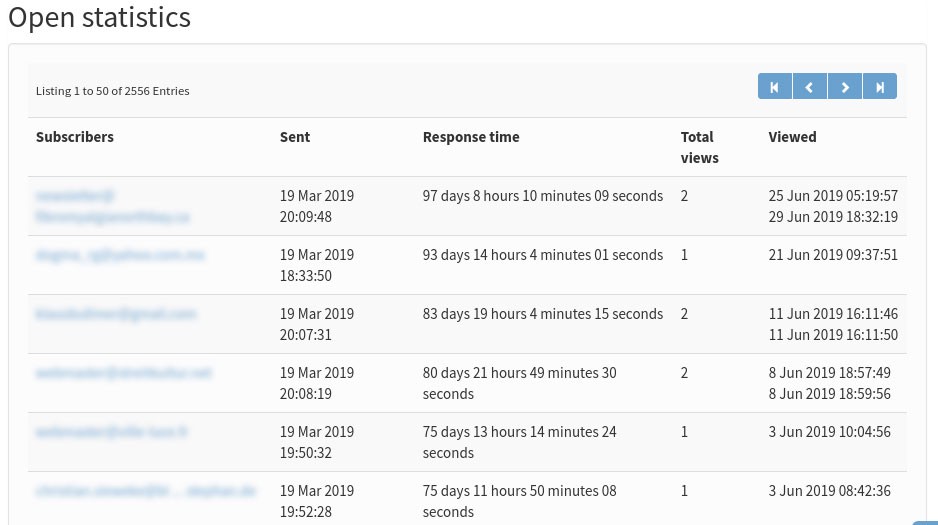
You can also click on an individual subscriber to drilldown to the subscriber level.
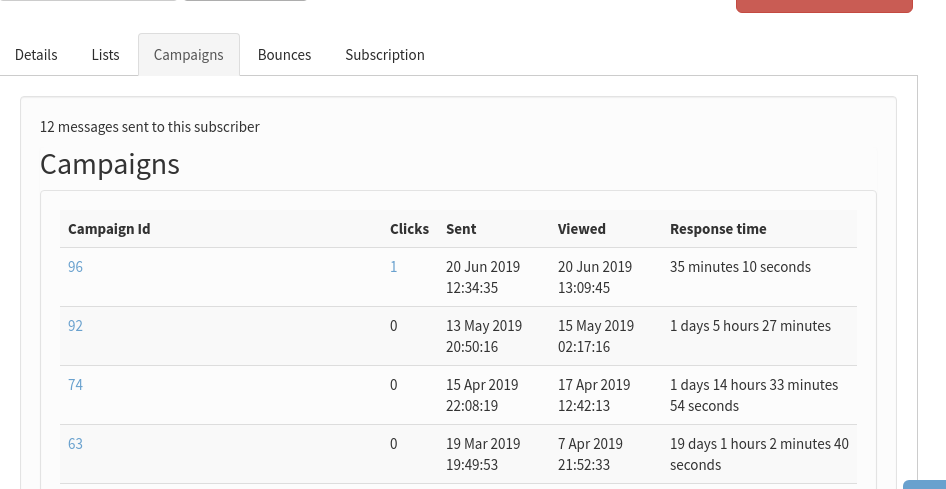
This will take you to the Campaigns tab in the History section of the Subscriber profile, where you can click further links to view the campaigns they have opened (left) or the links they clicked on in that campaign (right).
You can also see the date on which they viewed a campaign and the response time (in seconds).
Clicked Drilldown
In your campaign statistics overview page, you can also choose to drilldown into clicks data.
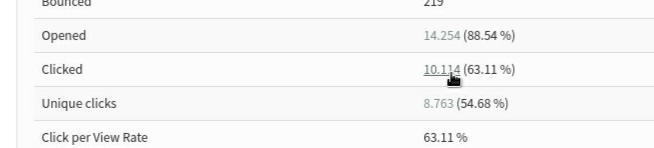
This will take you to a list of the links in that campaign, and how many people clicked on each one.
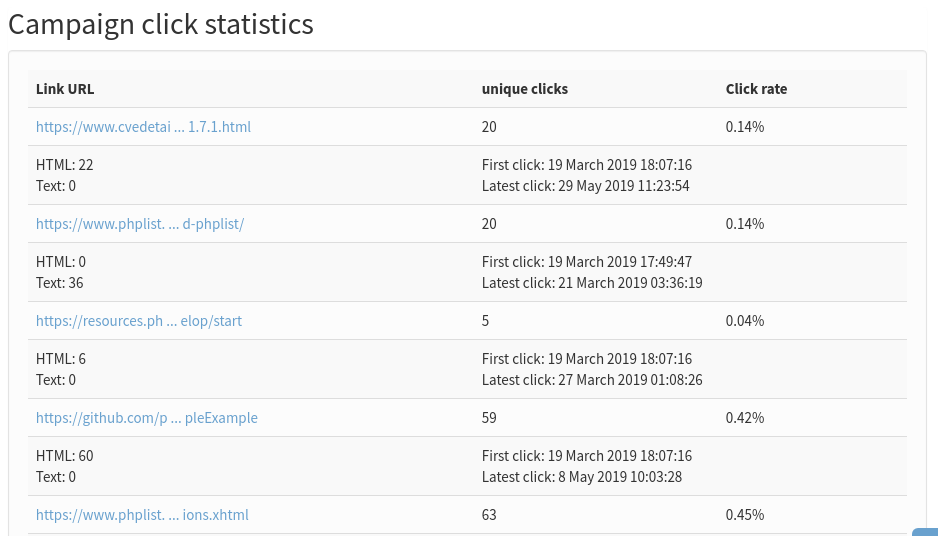
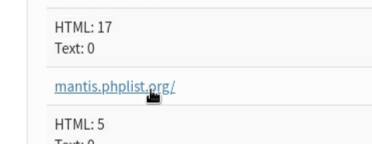
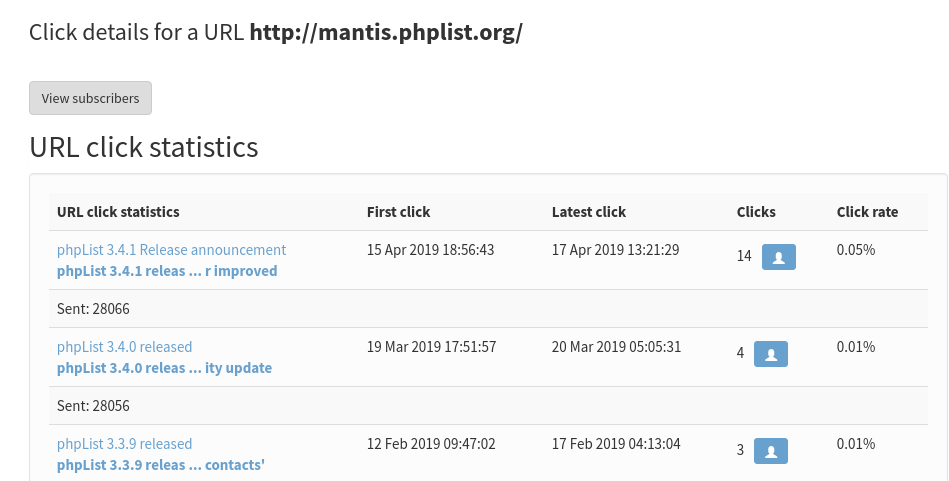
If you click on the url you can see how many people clicked on that url across all campaigns which contained it.
That data can also be downloaded as a csv.
Domain Statistics
The Domain statistics page is accessible from the main statistics menu and it is a fascinating page which can give you a real insight into the nature of your subscribers. The Domain Statistics tab is divided into four tables that each one oven display different typo of information:
-
Top 50 domains with more than 5 subscribers
-
Domains with most unconfirmed subscribers
-
Top 25 local-parts of email addresses
-
Top 25 domains with the highest number of bounces
On the last table each domain links to a new page which shows aggregated performance statistics for each of those records, specifically: bounce rate and view rate. These high-level statistics are useful in diagnosing deliverability issues to particular important mail hosts.
Using an analytics tracking code
Using an Analytics tracking code ensures that any visits to your website from the campaign are recorded.
Matomo Integration is available as an alternative to Google Analytics starting from phpList version 3.5.3. You can choose between Matomo or Google Analytics in the Settings page of your account. Similarly to the current GA parameters, when selected, each URL will have four additional query parameters that will be displayed and can be edited on the Finish tab when composing a campaign. The data is not collected, stored or viewed in phpList.
Google tracking is quite different from the in-built phpList opens/views tracking. Firstly the data is not collected, stored or viewed in phpList. Also, if you link to another website in your campaign and if that website also has Google Analytics tracking on their site (which is likely) then they also receive data. In that sense, the tracking code is not exclusive to you.
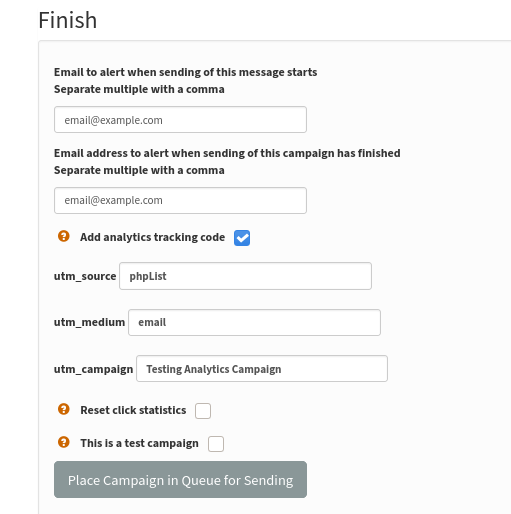
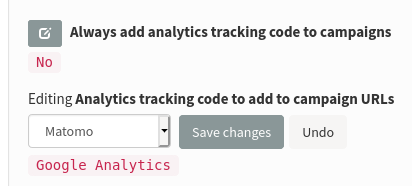
To turn on and off the use of tracking codes for every campaign, use the Always add analytics tracking code to campaigns in your campaign settings area, which can be accessed from Config > Settings. Once you select whether you want to have Analytics tracking for your campaigns you can choose between Matomo and Google Analytics. You can update these settings an anytime.
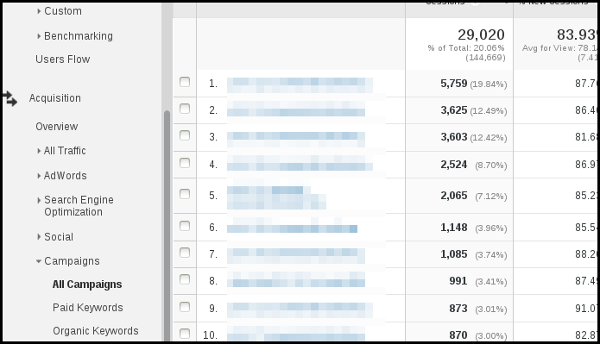
To view the data in your Google Analytics go to Acquisition > Campaigns and you will see the name of each campaign.
Enable/Disable click track
As mentioned above, phpList can tell whether a link included on your campaign has been clicked and how many times has been clicked. For various reasons (for privacy reasons for your subscribers, for example) you might want to have this functionality disabled. Upon installation click track is disabled, but if you wish to enable it you have to edit the config_extended.php file.
Go to:
define('CLICKTRACK', 0);and set this as
define('CLICKTRACK', 1);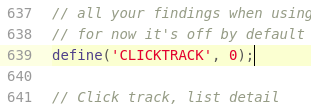
Forward to friend
On your Statistics > Statistics overview page, the third column, FWDS, shows the number of people who have forwarded the mail through the phpList ForwardToFriend system.
This system uses a placeholder to create a link or form in the email body or footer of your campaign for your subscribers to use to forward the mail to someone else.
If your subscribers use this method to forward your campaign, any actions (clicks, forwards etc) taken by the new recipient will be included in your campaign statistics separately.
It is possible for you subscribers to forward the message by other means, but you cannot reliably tell: any clicks or opens in an email which has been forwarded without the Forward to a Friend system will be recorded as actions of the original subscriber.
It is therefore worth including an option to forward the campaign, using the [FORWARDURL] placeholder, in the header or footer. For example,
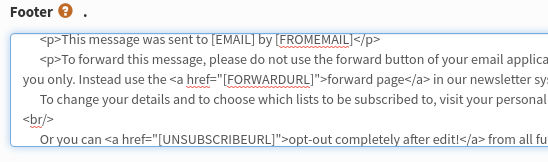
The subscriber will then see a forwarding link in the email footer:
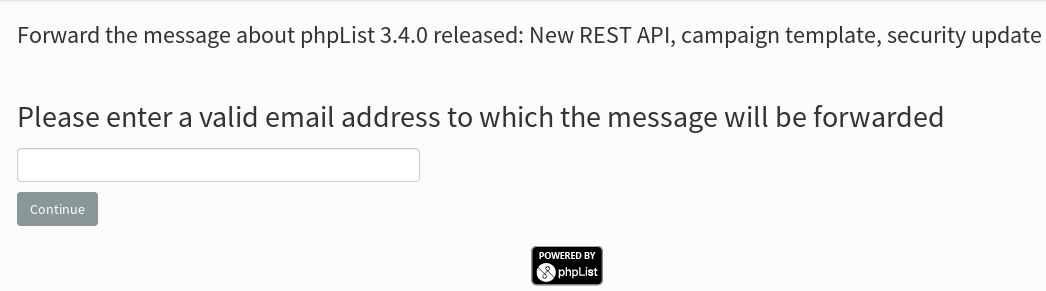
When a subscriber clicks this link they are prompted to enter an email:
 Disable click tracking

As stated above phpList can provide you all this useful information regarding the links that have been clicked from your campaign.
Feedback
Discuss this chapter here.